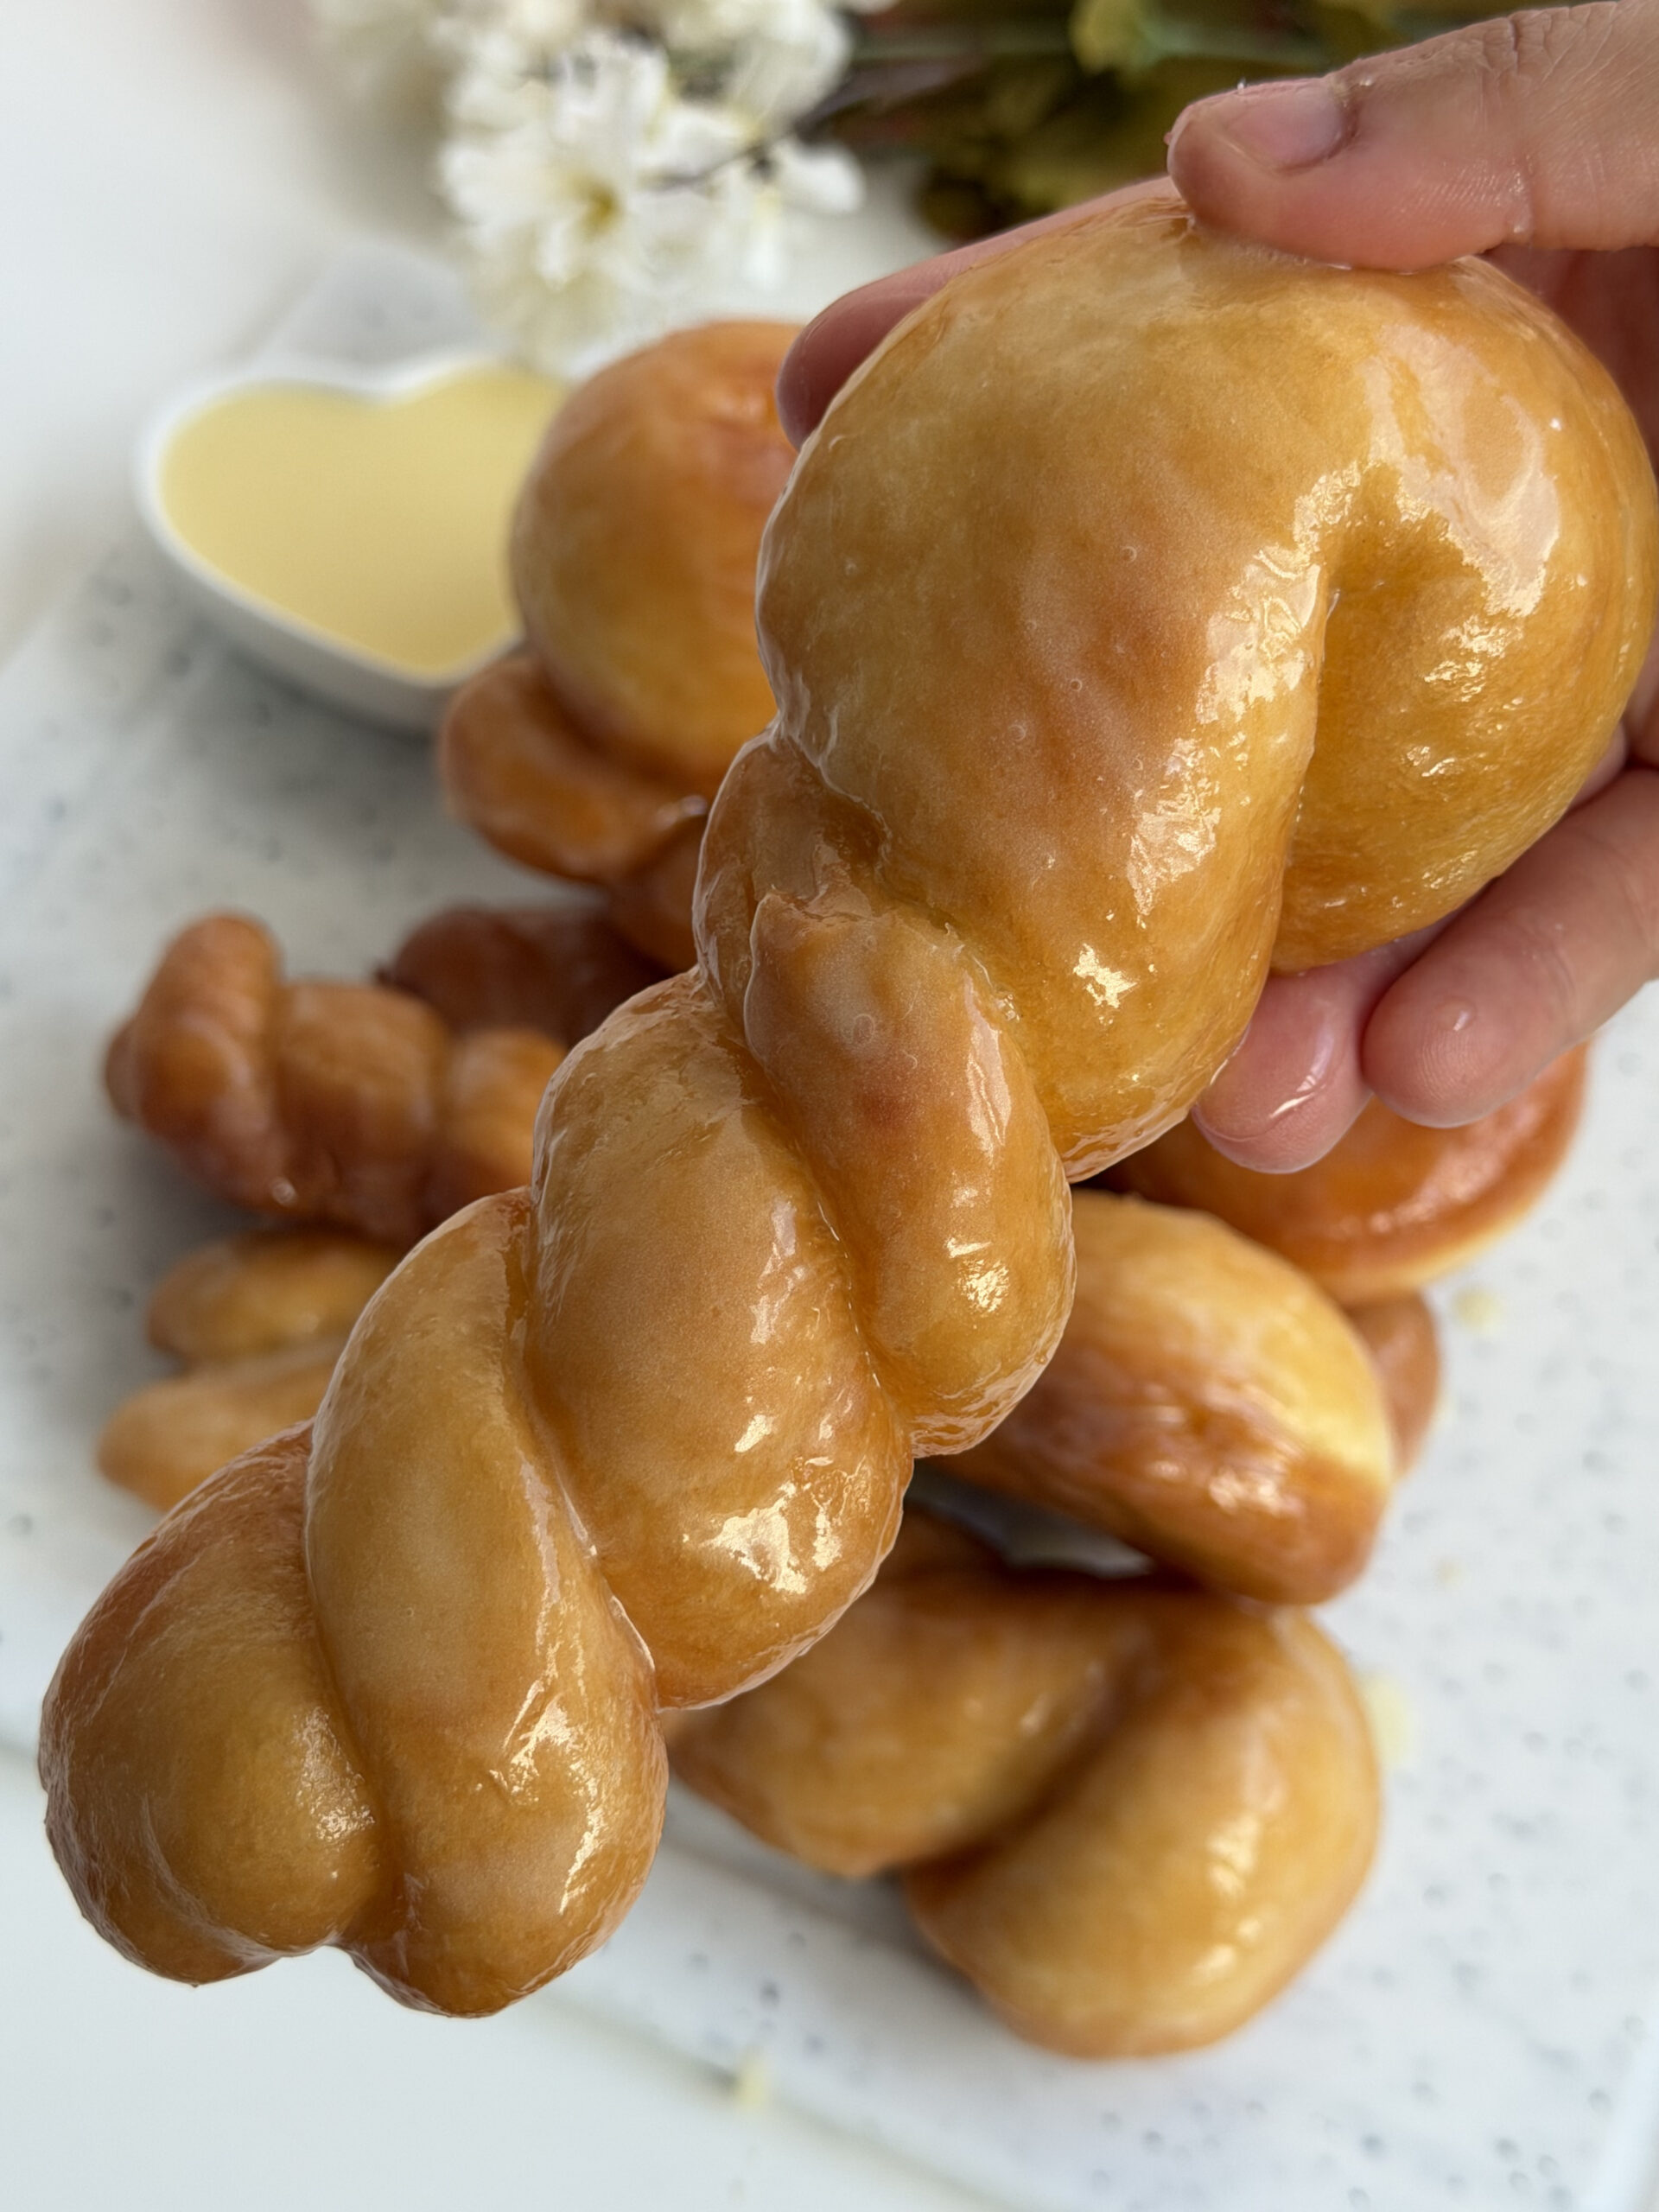
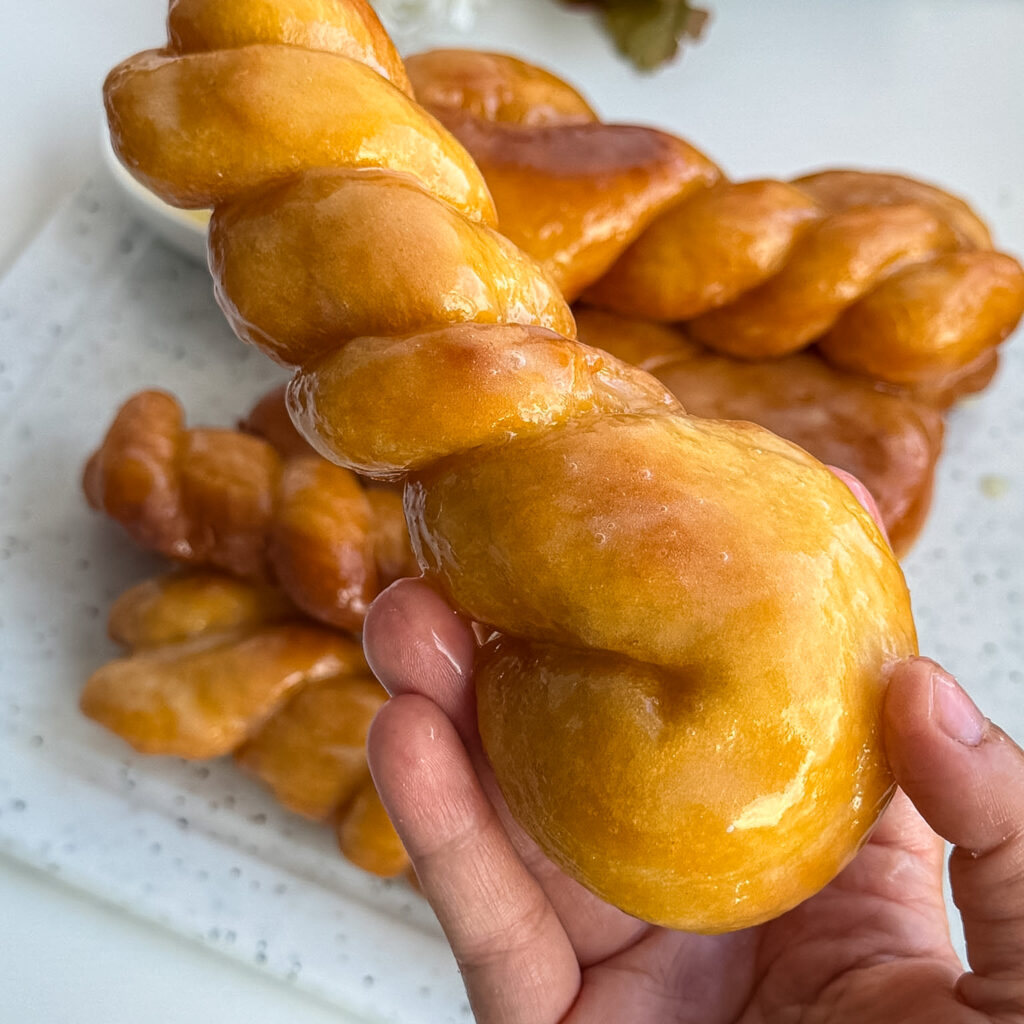
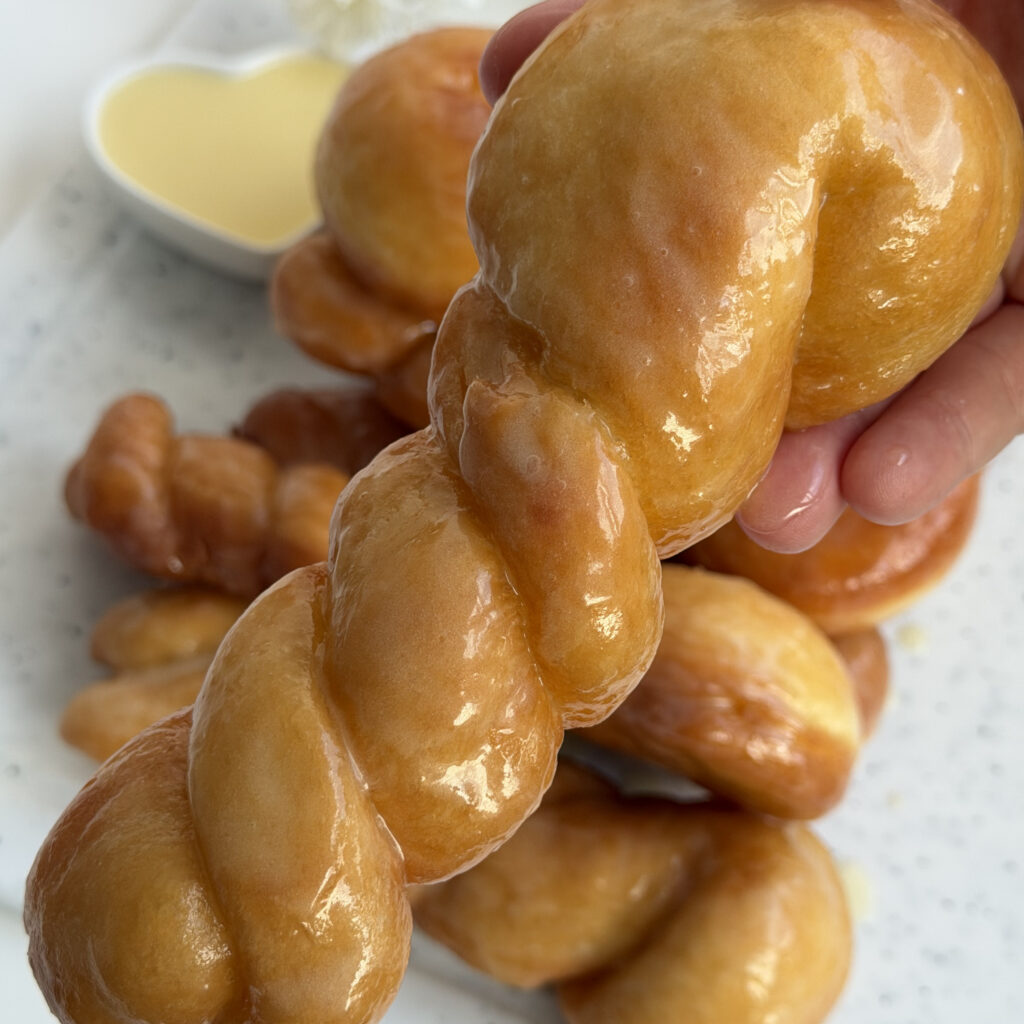
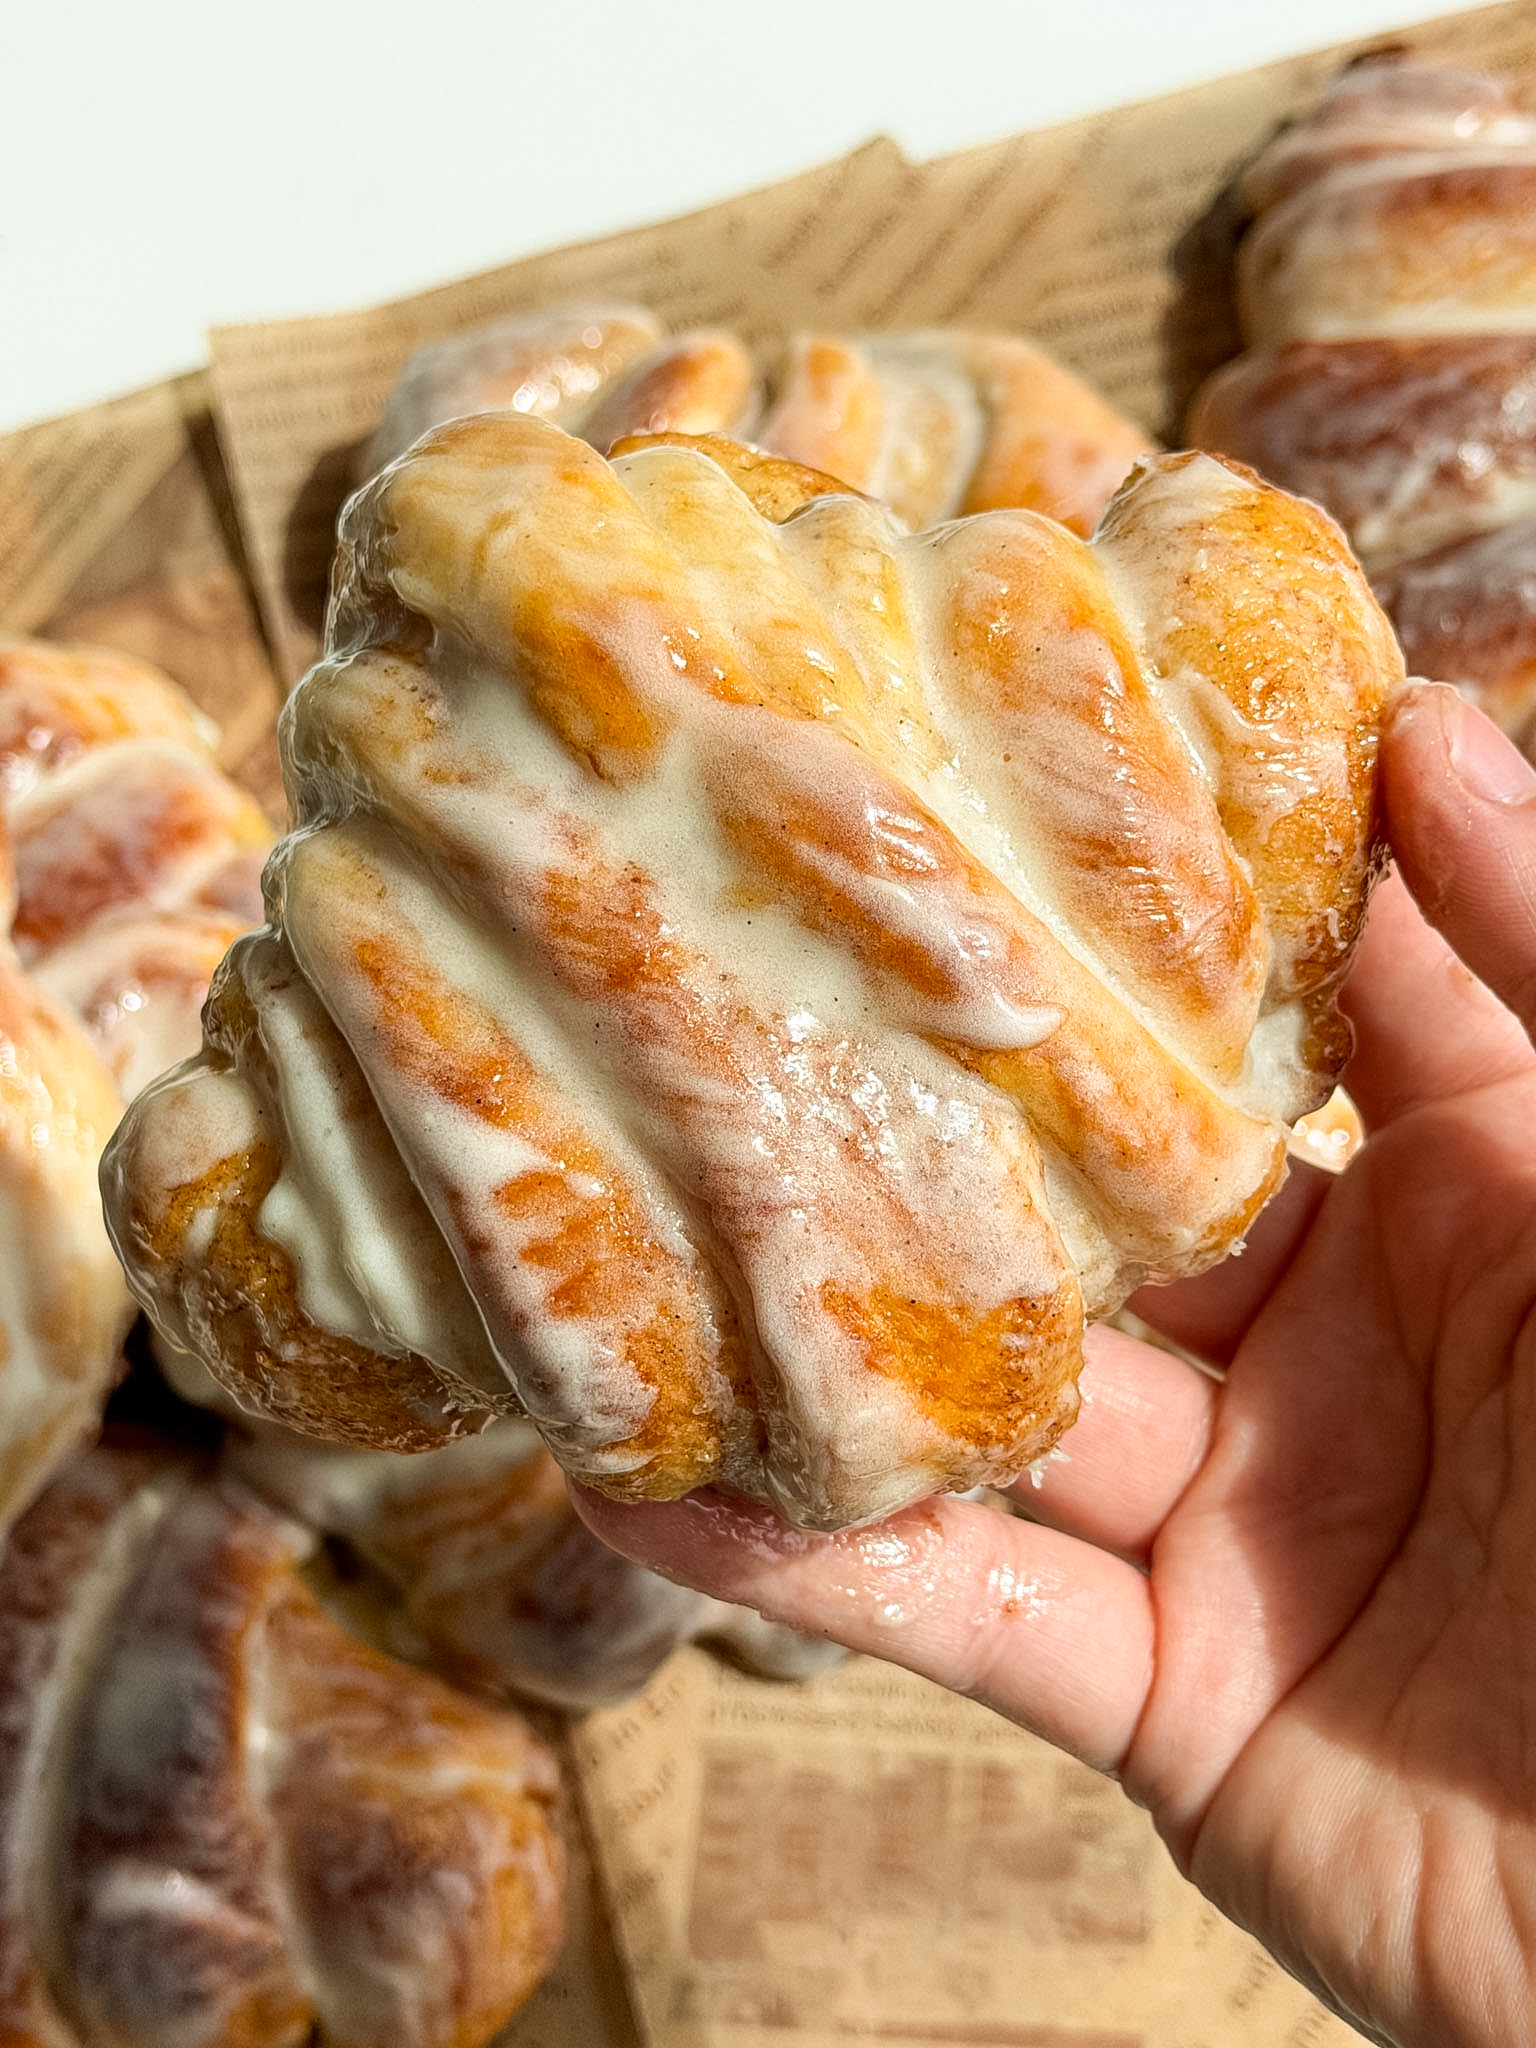
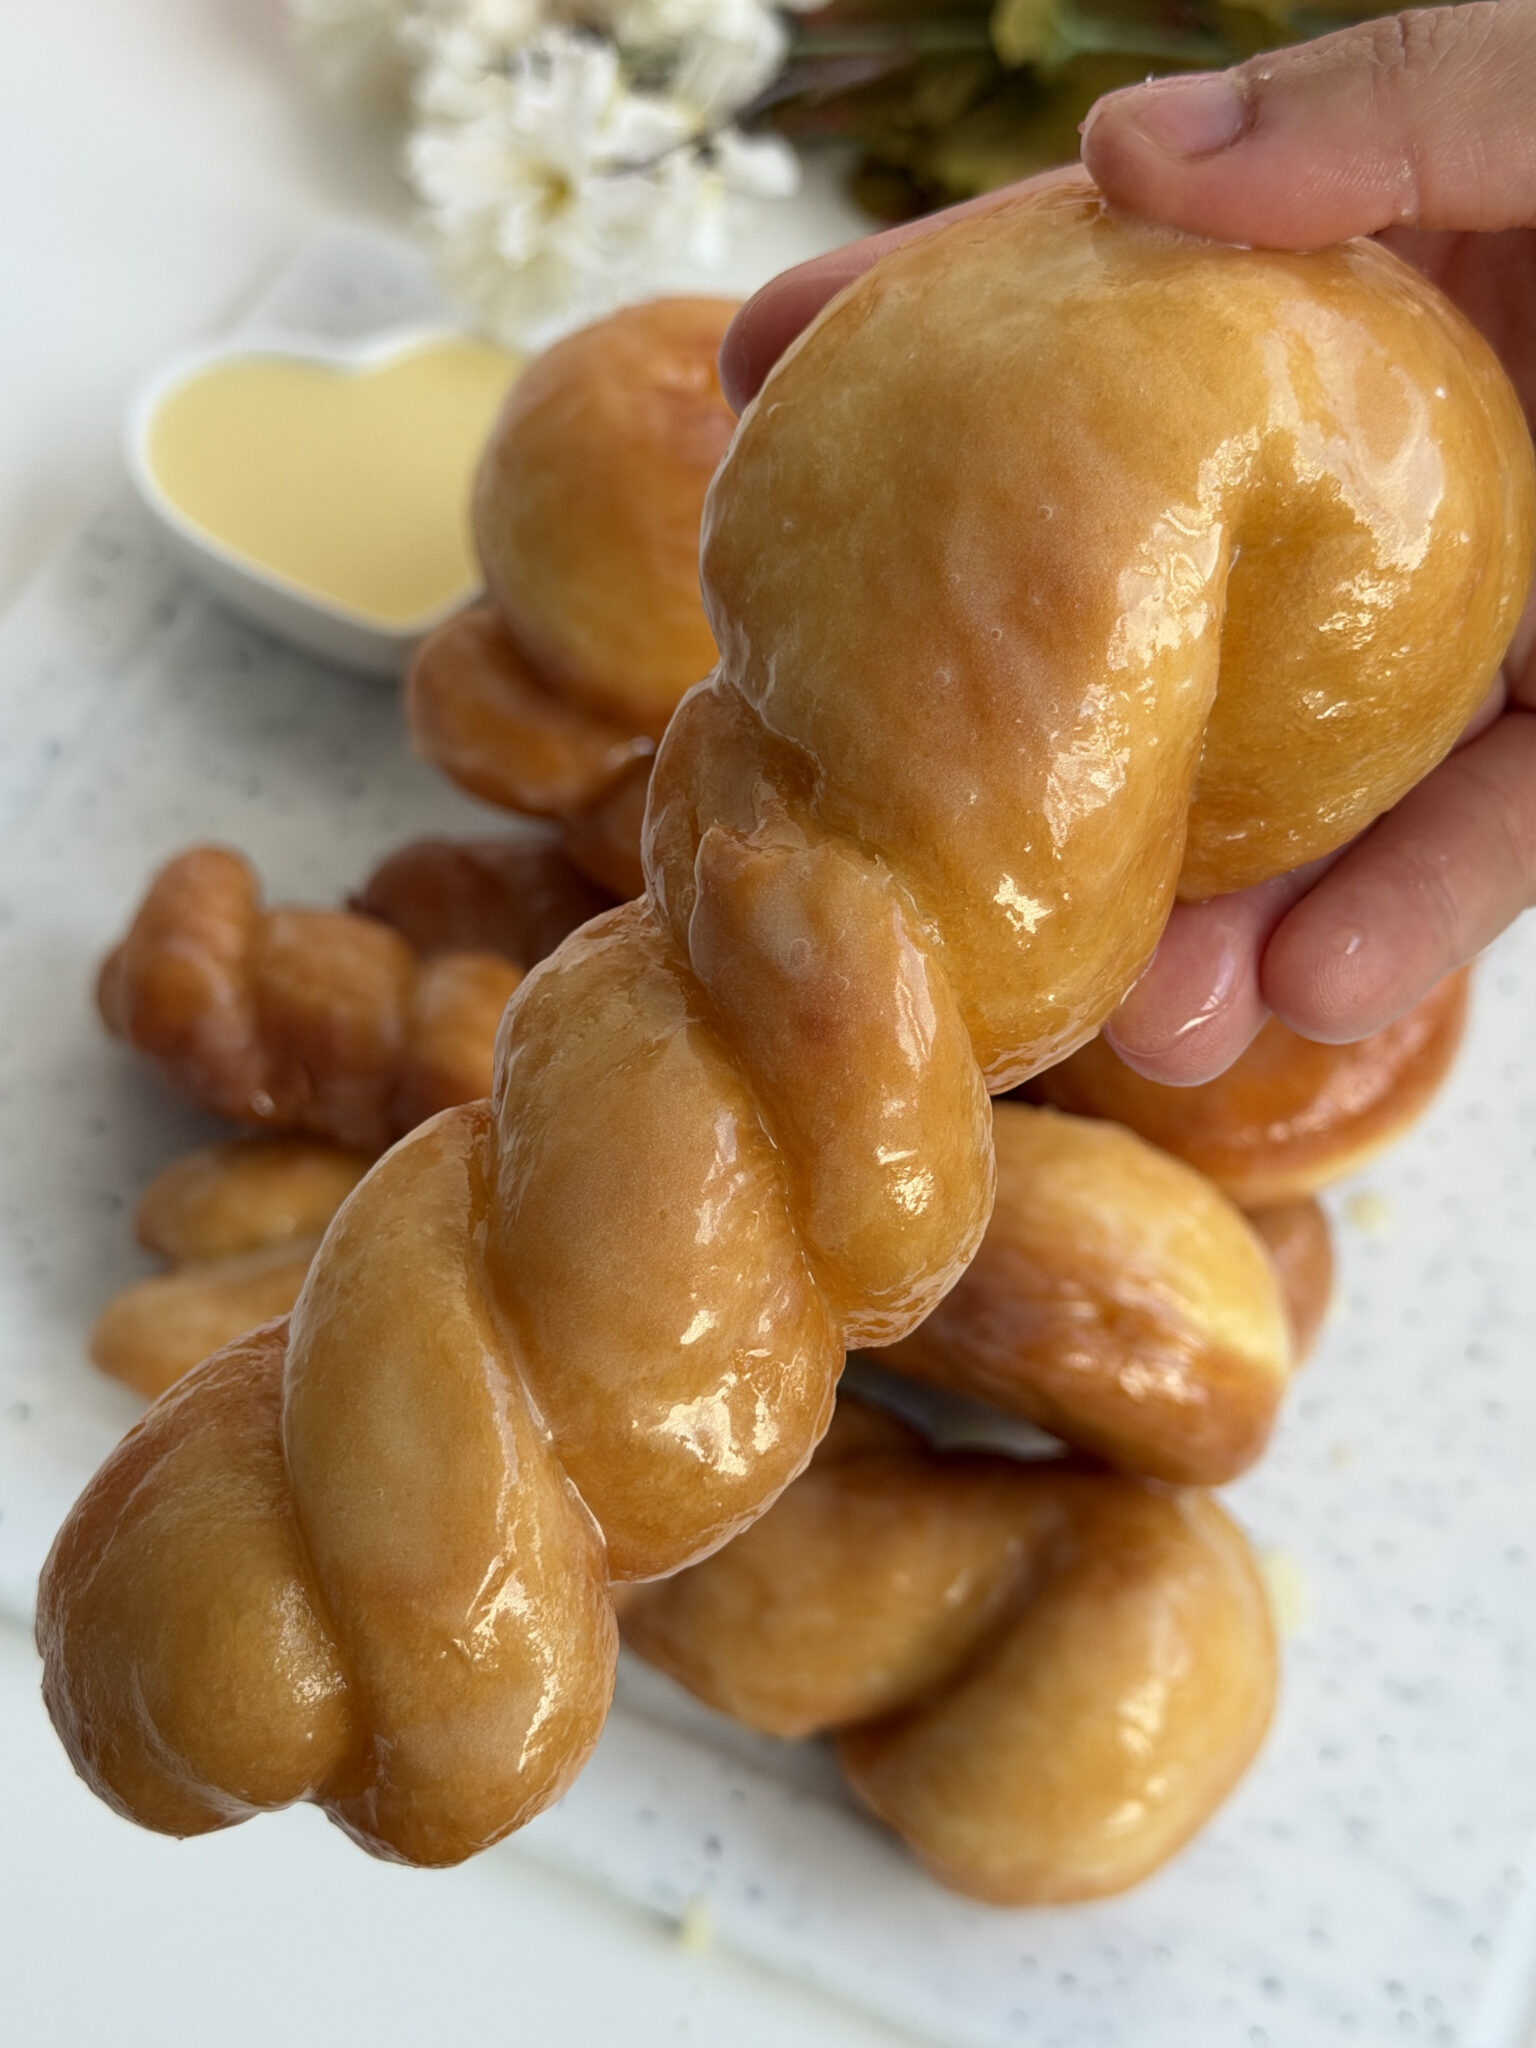
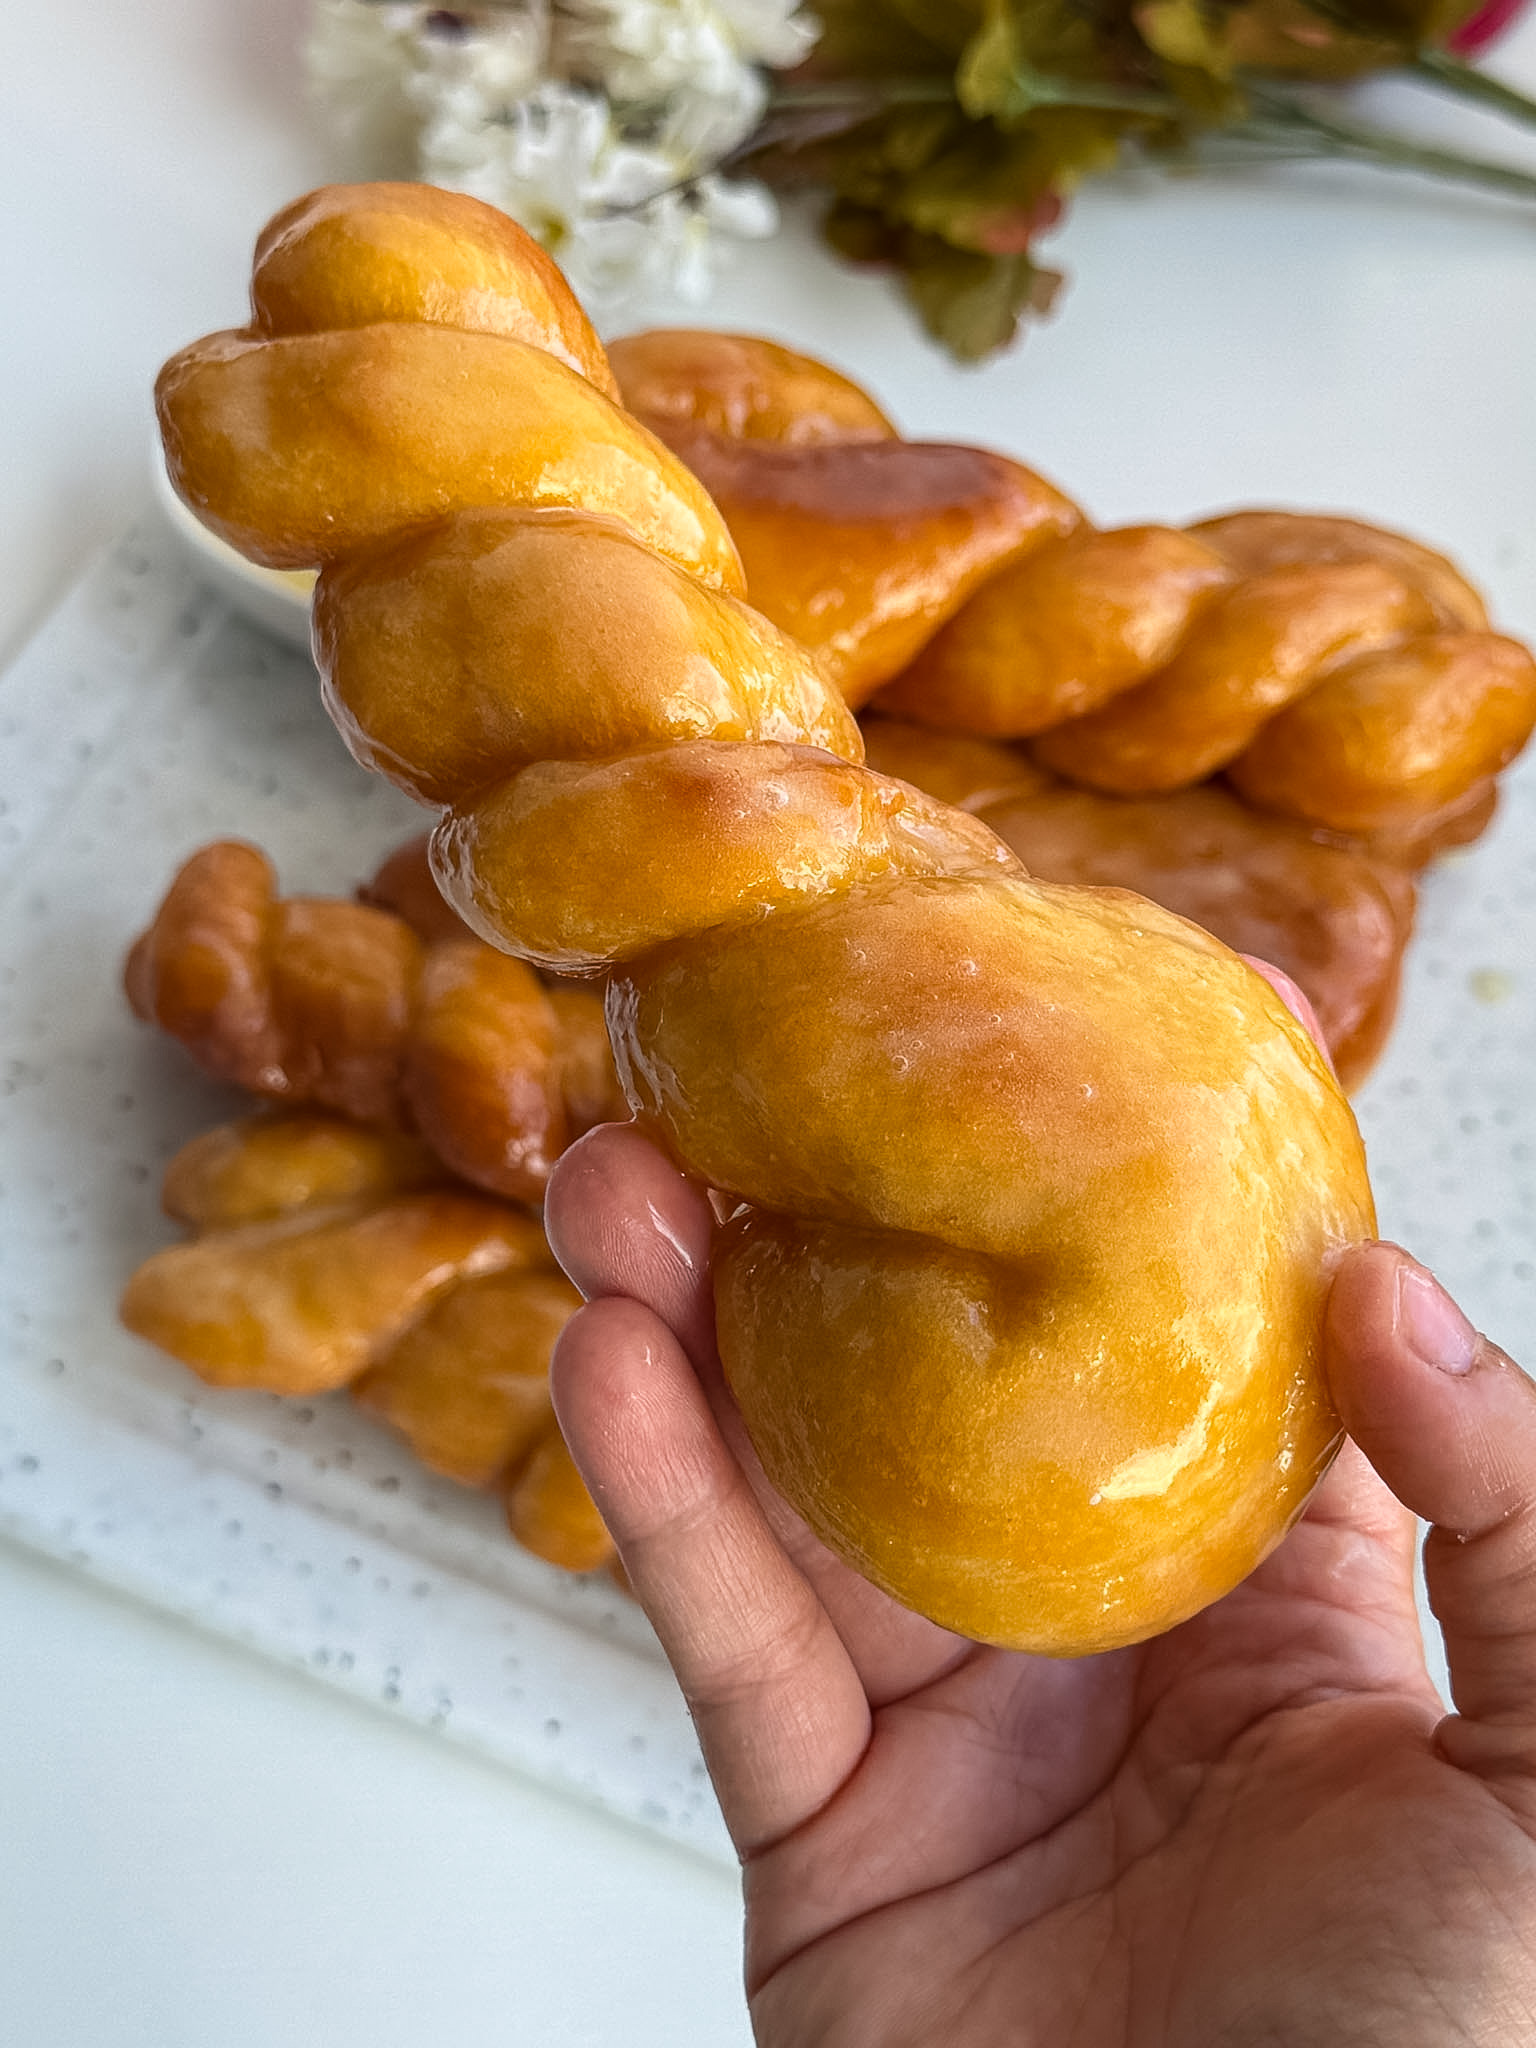
 There is something about a freshly made glazed donut that makes it almost impossible to stop at just one. Now take that soft, fluffy donut dough, twist it into beautiful bakery-style spirals, fry it until perfectly golden, and cover every inch with a sweet vanilla glaze—and you have these irresistible glazed twisted donuts.
These donuts are soft and pillowy on the inside, lightly crisp around the outside, and finished with a glossy glaze that sets into that classic sweet donut-shop coating. They look impressive, but the process is actually much easier than you might think.
If you’ve ever walked past a bakery and stared at those beautiful twisted donuts sitting behind the glass, this recipe is for you. The twisted shape gives them that extra-special look, while the rich yeast dough creates the soft texture everyone loves.
The best part? You don’t need complicated ingredients. A simple combination of flour, milk, eggs, butter, sugar, and yeast creates the perfect homemade donut dough. Once fried and glazed, they become the kind of treat that disappears from the kitchen surprisingly quickly.
Perfect for weekend breakfasts, brunches, holidays, family gatherings, or those moments when you’re simply craving something sweet and homemade, these glazed twisted donuts are definitely worth making.
Why You’ll Love These Glazed Twisted Donuts
These homemade twisted donuts are everything a good yeast donut should be: soft, airy, buttery, and beautifully golden.
Here’s why you’ll love them:
- Soft and fluffy yeast dough
- Beautiful bakery-style twisted shape
- Simple everyday ingredients
- Rich vanilla flavor
- Golden and lightly crisp exterior
- Sweet, glossy homemade glaze
- Perfect for breakfast, brunch, or dessert
- Fun to make and even more fun to eat
The dough contains eggs, butter, and milk, which gives the finished donuts a richer texture than a basic bread dough. The butter keeps them tender, while the yeast creates that light and fluffy interior.
And let’s be honest—the glaze is a huge part of the experience. The warm donuts soak up just enough of the sweet vanilla glaze to create that classic shiny finish.
Ingredients You’ll Need
For the Donut Dough
- 500 g flour
- 2 eggs
- 18 g fresh yeast
- 50 g butter
- 4 tablespoons sugar
- A pinch of salt
- 205 ml milk
- 1 packet vanilla sugar
You will also need:
- Neutral oil for frying, such as vegetable or sunflower oil
A Note About the Vanilla
If you don’t have vanilla sugar packets, you can substitute vanilla extract or vanilla paste. The amount will depend on the strength of the product, but approximately 1 teaspoon of vanilla extract is usually a good starting point.
For the Vanilla Glaze
- 300 g powdered sugar
- 4 tablespoons milk
- 113 g butter, melted
- Vanilla, to taste
- A pinch of salt
This glaze is rich, sweet, buttery, and absolutely perfect for coating warm homemade donuts.
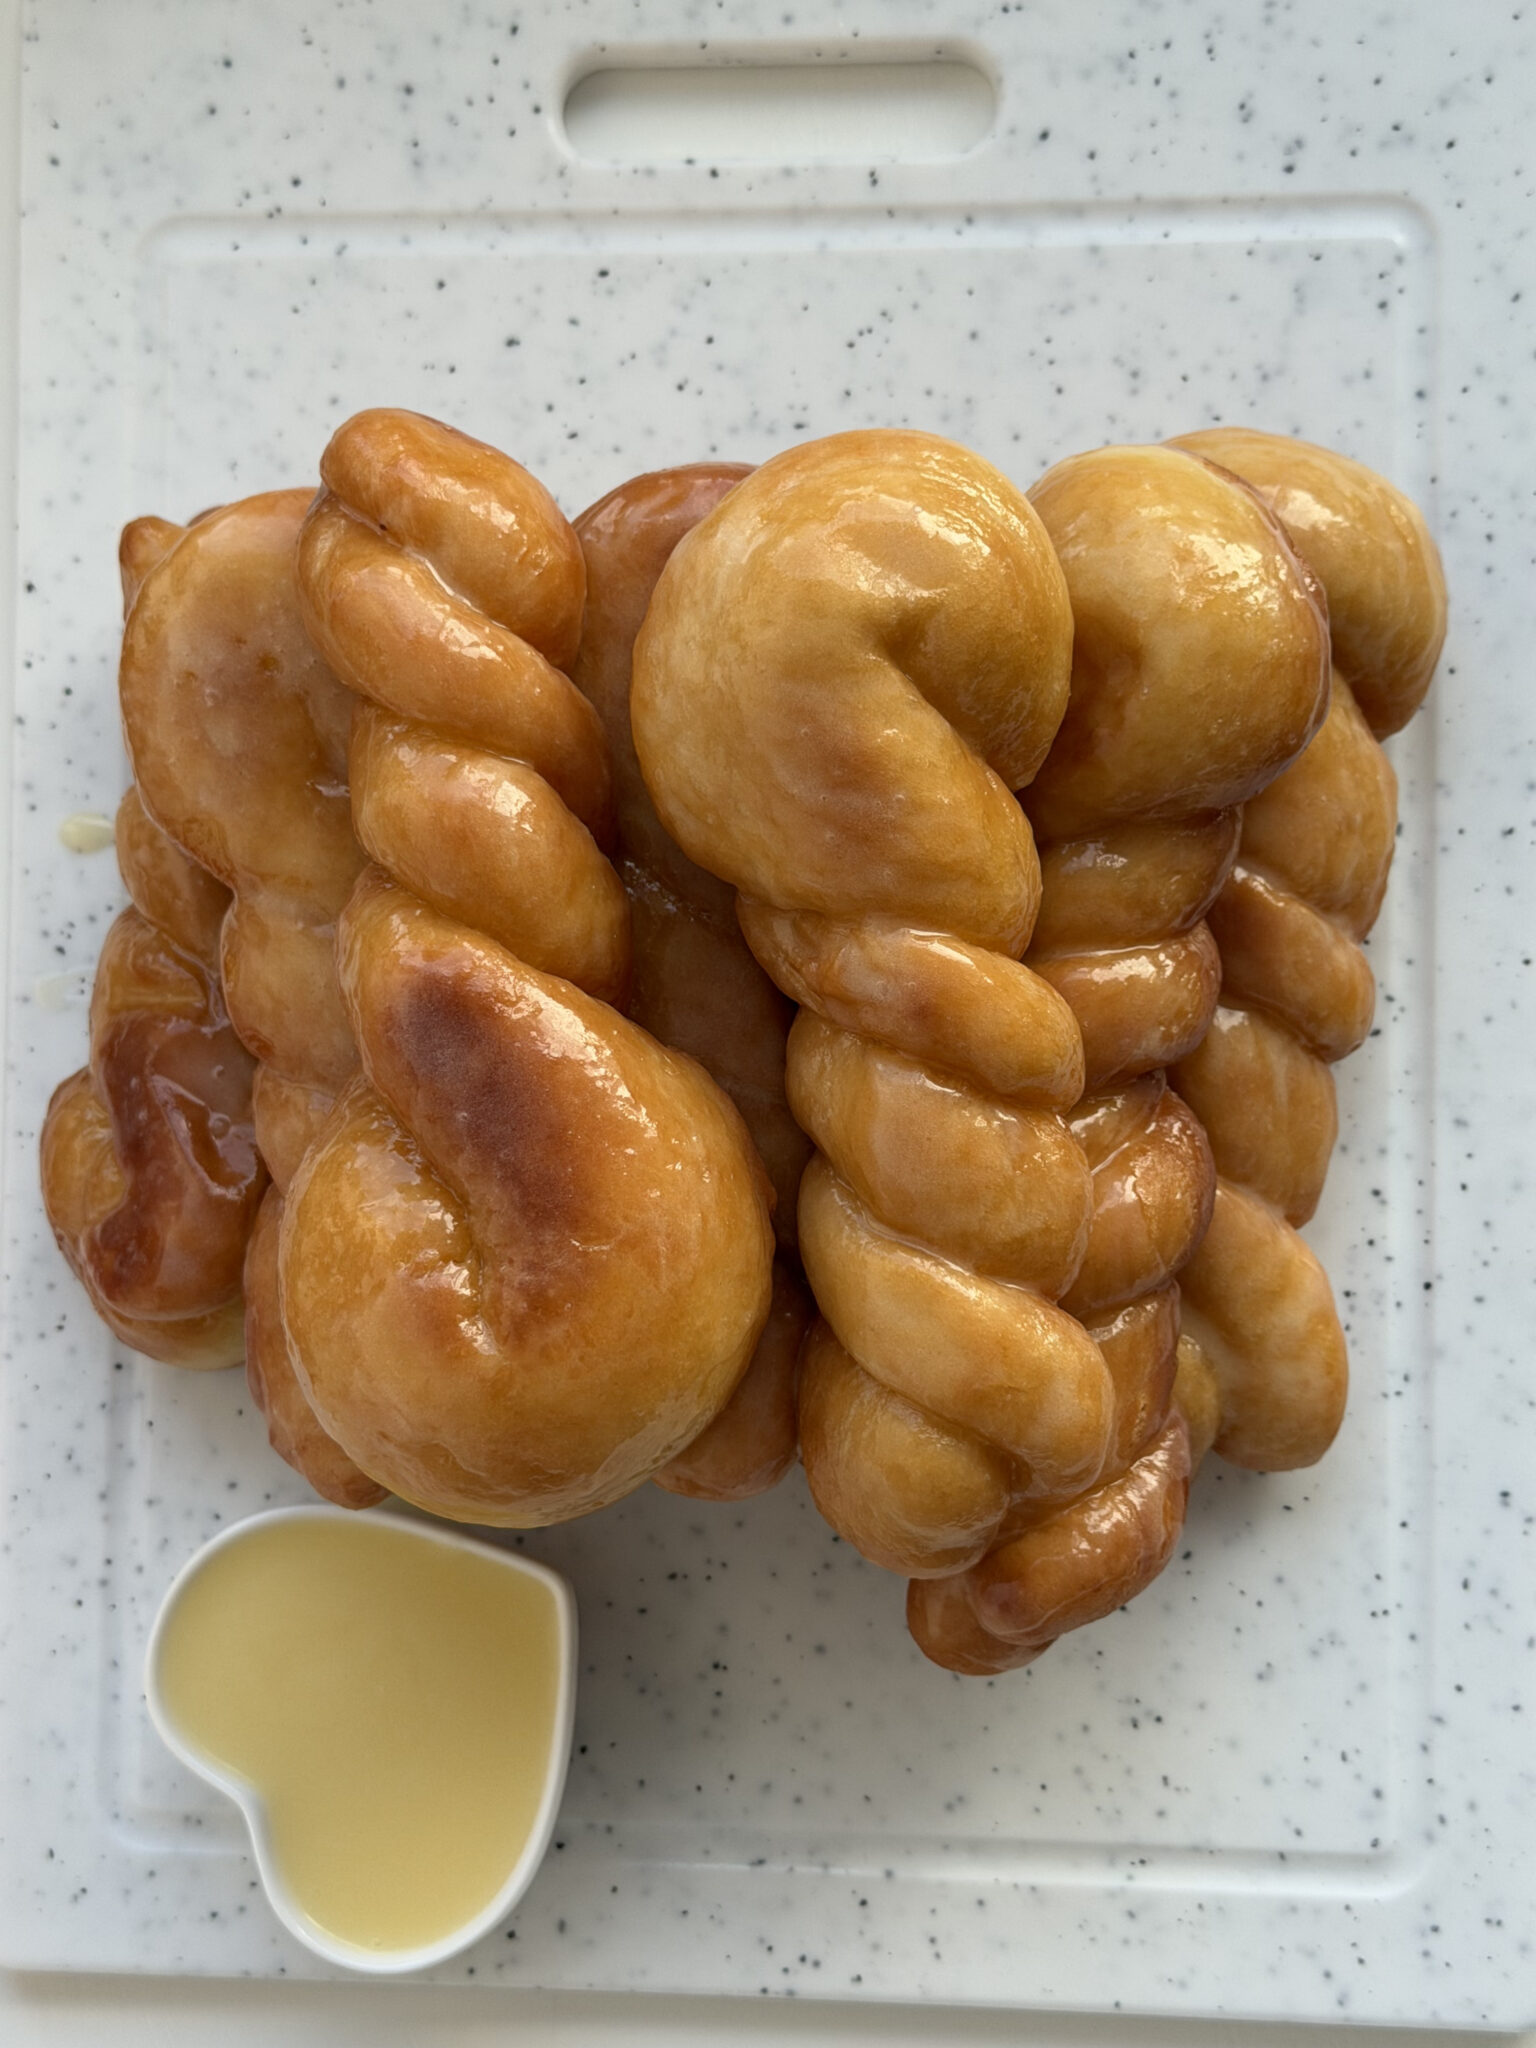
How to Make Glazed Twisted Donuts
Step 1: Prepare the Yeast
The first step is getting your yeast ready.
Warm the milk until it is comfortably warm—not hot. If the milk is too hot, it can damage the yeast, so aim for a temperature that feels warm but not burning when touched.
Crumble the fresh yeast into the warm milk and add a little of the sugar. Stir gently and allow it to sit for several minutes.
The yeast should begin to activate.
If you’re using fresh yeast and everything is at the correct temperature, you should notice the mixture becoming slightly foamy or bubbly.
This is always a good sign because it means your yeast is alive and ready to make your donuts beautifully fluffy.
Step 2: Make the Dough
In a large mixing bowl, add the flour, remaining sugar, vanilla, and pinch of salt.
Add the eggs and the activated yeast mixture.
Begin mixing the ingredients together until a rough dough forms.
Now add the softened butter and continue kneading.
You can use:
- A stand mixer with a dough hook
- A hand mixer with dough attachments
- Your hands
Knead the dough until it becomes smooth, soft, and elastic.
This usually takes approximately 8–10 minutes by hand or slightly less in a stand mixer.
The finished dough should feel soft and supple. It may be slightly tacky, but it shouldn’t be excessively sticky.
Try not to add too much extra flour. Adding too much flour can make your donuts dense rather than light and fluffy.
Step 3: Let the Dough Rise
Lightly grease a large bowl with a little oil.
Place the dough inside and cover the bowl with plastic wrap, a lid, or a clean kitchen towel.
Leave it somewhere warm for approximately 1 to 1½ hours, or until noticeably doubled in size.
The exact rising time can vary depending on how warm your kitchen is.
Don’t rush this step.
The yeast needs time to create air bubbles throughout the dough, and those air bubbles are what give homemade yeast donuts their soft, fluffy texture.
Once the dough has risen, gently press it down to release some of the air.
Now you’re ready for the fun part: shaping the twists.
Step 4: Shape the Twisted Donuts
Transfer the dough to a lightly floured surface.
Divide it into equal portions depending on how large you want your donuts.
For medium-sized twisted donuts, divide the dough into approximately 10–12 portions.
Roll each portion into a long rope.
Try to make the ropes relatively even in thickness.
Next, take each dough rope and gently twist it.
You can do this by rolling the rope slightly while turning the ends in opposite directions. Once you have a nice spiral shape, bring the ends together and pinch them firmly to create a twisted ring.
Make sure the ends are sealed well.
If they aren’t properly sealed, they can separate while frying.
Place each shaped donut onto a parchment-lined tray.
Step 5: Let the Donuts Proof Again
Cover the shaped twisted donuts loosely with a clean kitchen towel.
Allow them to rest for approximately 20–30 minutes.
During this second rise, the donuts will become noticeably puffier.
Don’t skip this step.
The second proof helps create that light, airy texture inside the finished donuts.
By the time they’re ready to fry, they should look soft and slightly expanded.
Handle them gently so you don’t knock out all the air created during proofing.
Step 6: Heat the Oil
Pour neutral frying oil into a deep, heavy-bottomed pot.
Heat the oil to approximately 350°F (175°C).
Using a thermometer is the easiest way to maintain a consistent frying temperature.
If the oil is too hot, the outside of the donuts can brown before the inside cooks properly.
If the oil is too cool, the donuts may absorb too much oil and become greasy.
A steady medium-hot temperature is the key to beautifully golden donuts.
Step 7: Fry the Twisted Donuts
Carefully add in a few donuts at a time into the hot oil.
Don’t overcrowd the pan.
The donuts need space to move around and cook evenly.
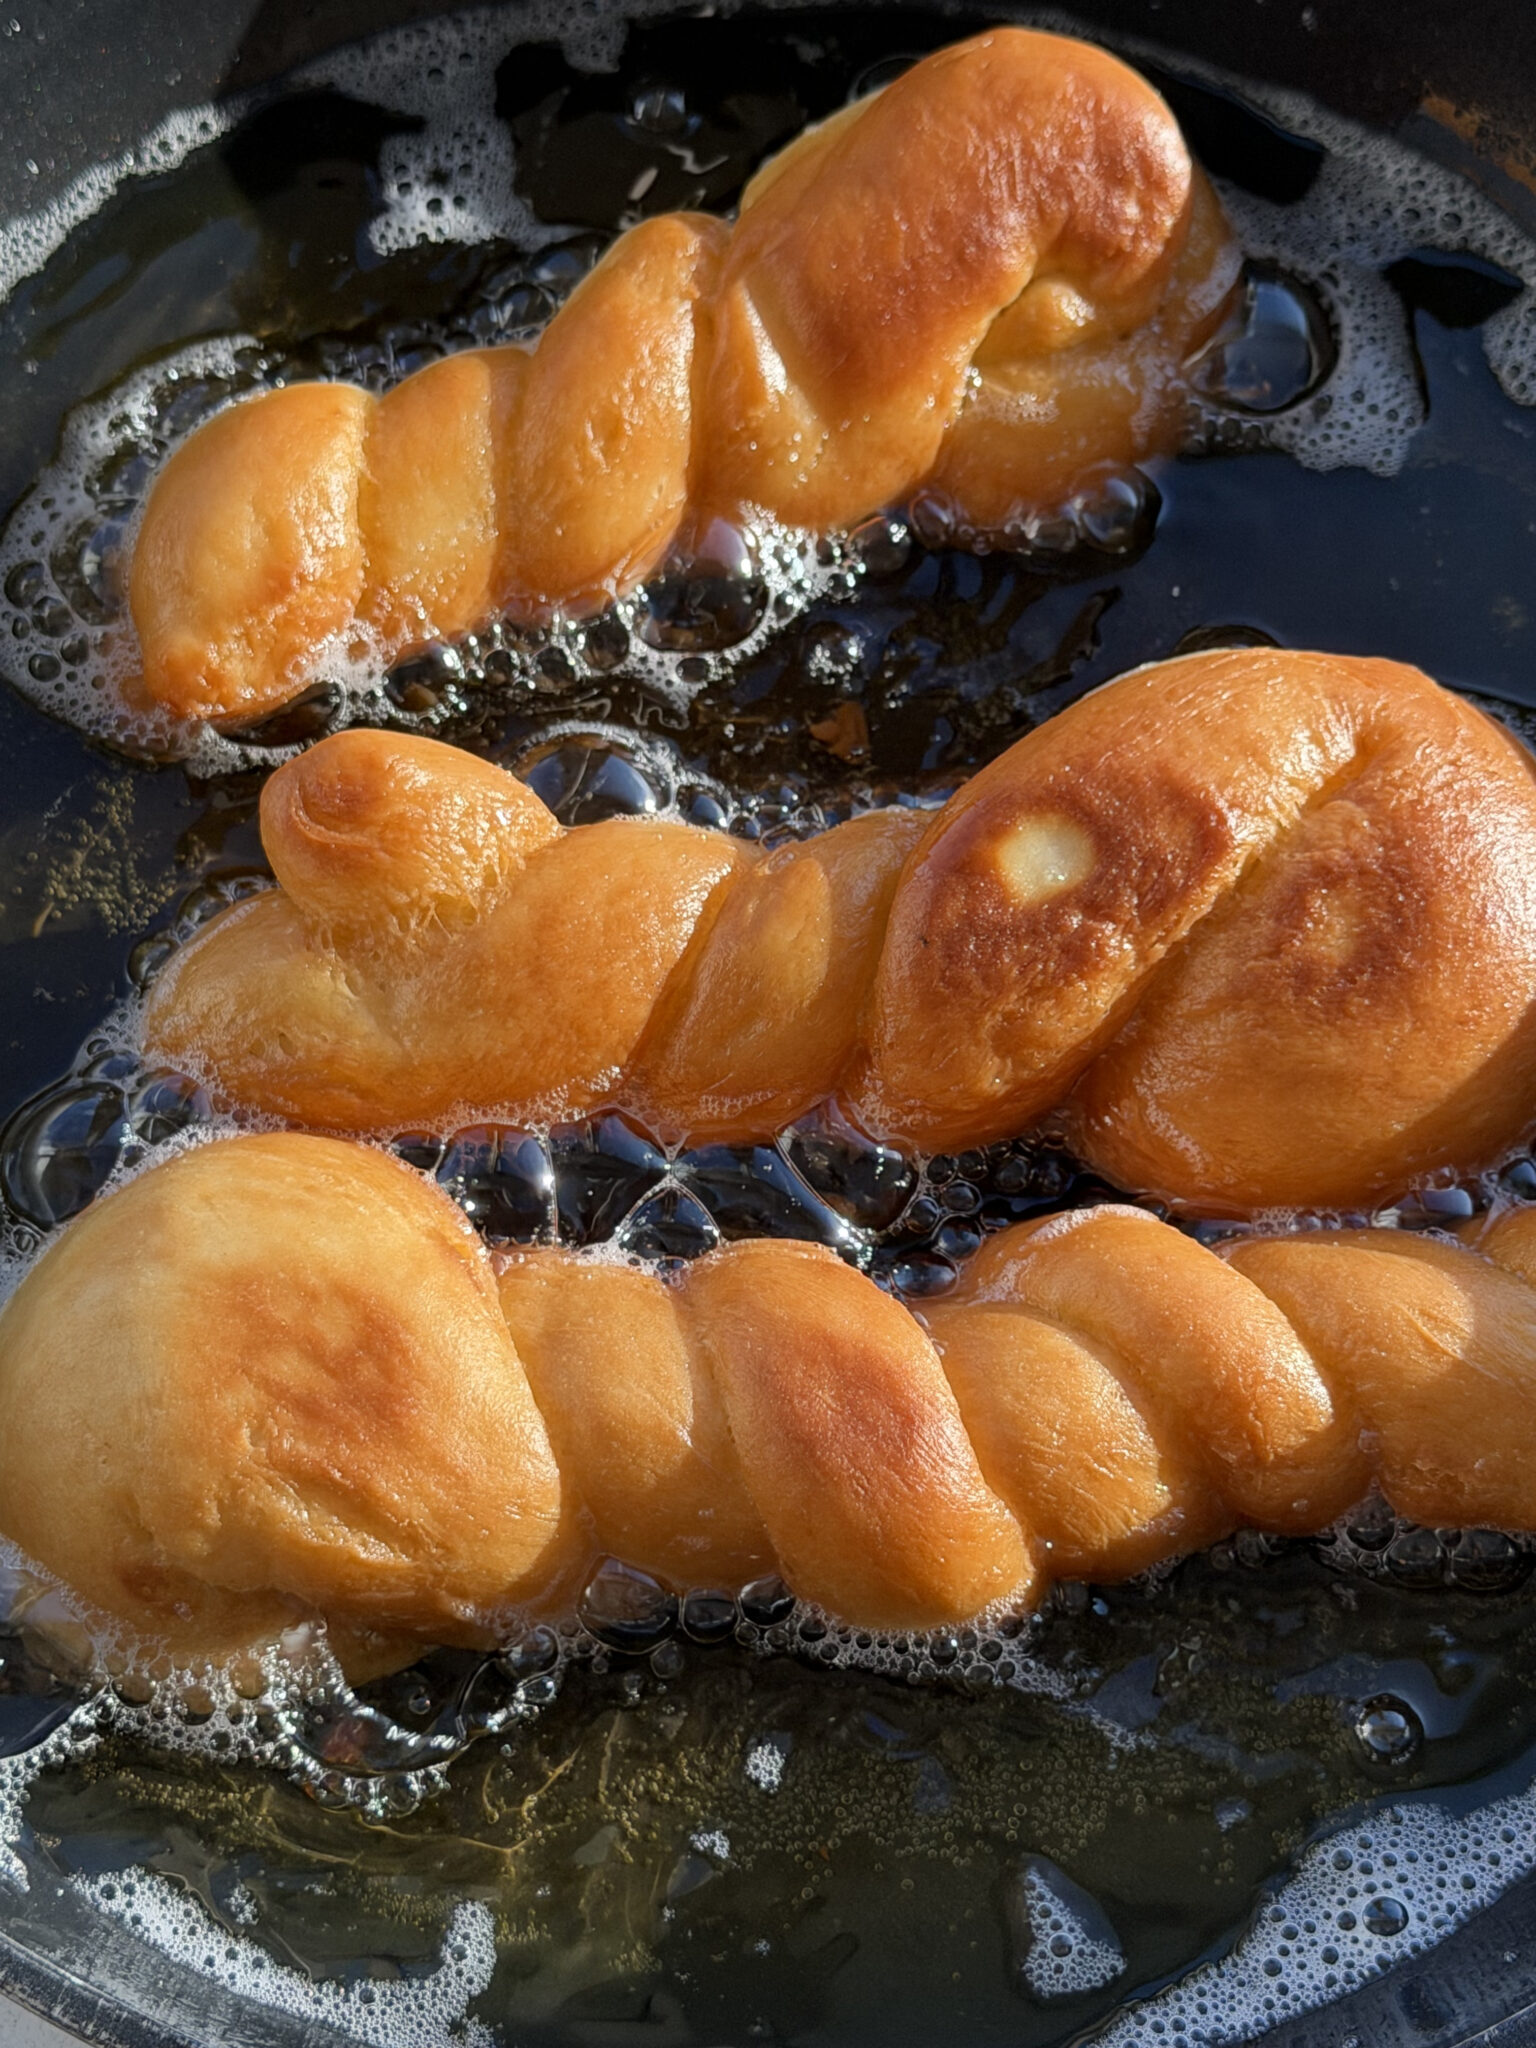
Fry them for approximately 1–2 minutes per side, depending on their size.
Turn them carefully using a slotted spoon.
They should become:
- Beautifully golden
- Puffy
- Lightly crisp
- Evenly browned
Once cooked, remove the donuts from the oil and place them onto a wire rack or paper towel-lined tray.
Repeat with the remaining donuts.
Let them cool for a few minutes but don’t let them become completely cold before glazing.
Warm donuts are perfect for the next step.
The Secret to a Perfect Donut Glaze
The glaze is what transforms these fluffy twisted donuts into something that looks like it came straight from a bakery.
In a large bowl, combine:
- Powdered sugar
- Melted butter
- Milk
- Vanilla
- A pinch of salt
Whisk everything together until completely smooth.
The glaze should be thick enough to coat the donuts but thin enough to drip softly.
If it seems too thick, add a tiny amount of milk.
If it becomes too thin, you can add a little more powdered sugar until you reach the consistency you desire.
The consistency matters because you want the glaze to cling beautifully to the twists without simply running straight off.
Step 8: Glaze the Donuts
While the donuts are still slightly warm, dip them into the vanilla glaze.
Turn them gently to coat both sides.
Lift them from the glaze and allow any excess to drip back into the bowl.
Place the glazed donuts onto a wire rack.
As the glaze cools, it will begin to set into that beautiful shiny coating.
You can leave them with one layer of glaze or dip them again after the first layer starts setting if you want an extra-thick coating.
And honestly? There is absolutely nothing wrong with extra glaze.
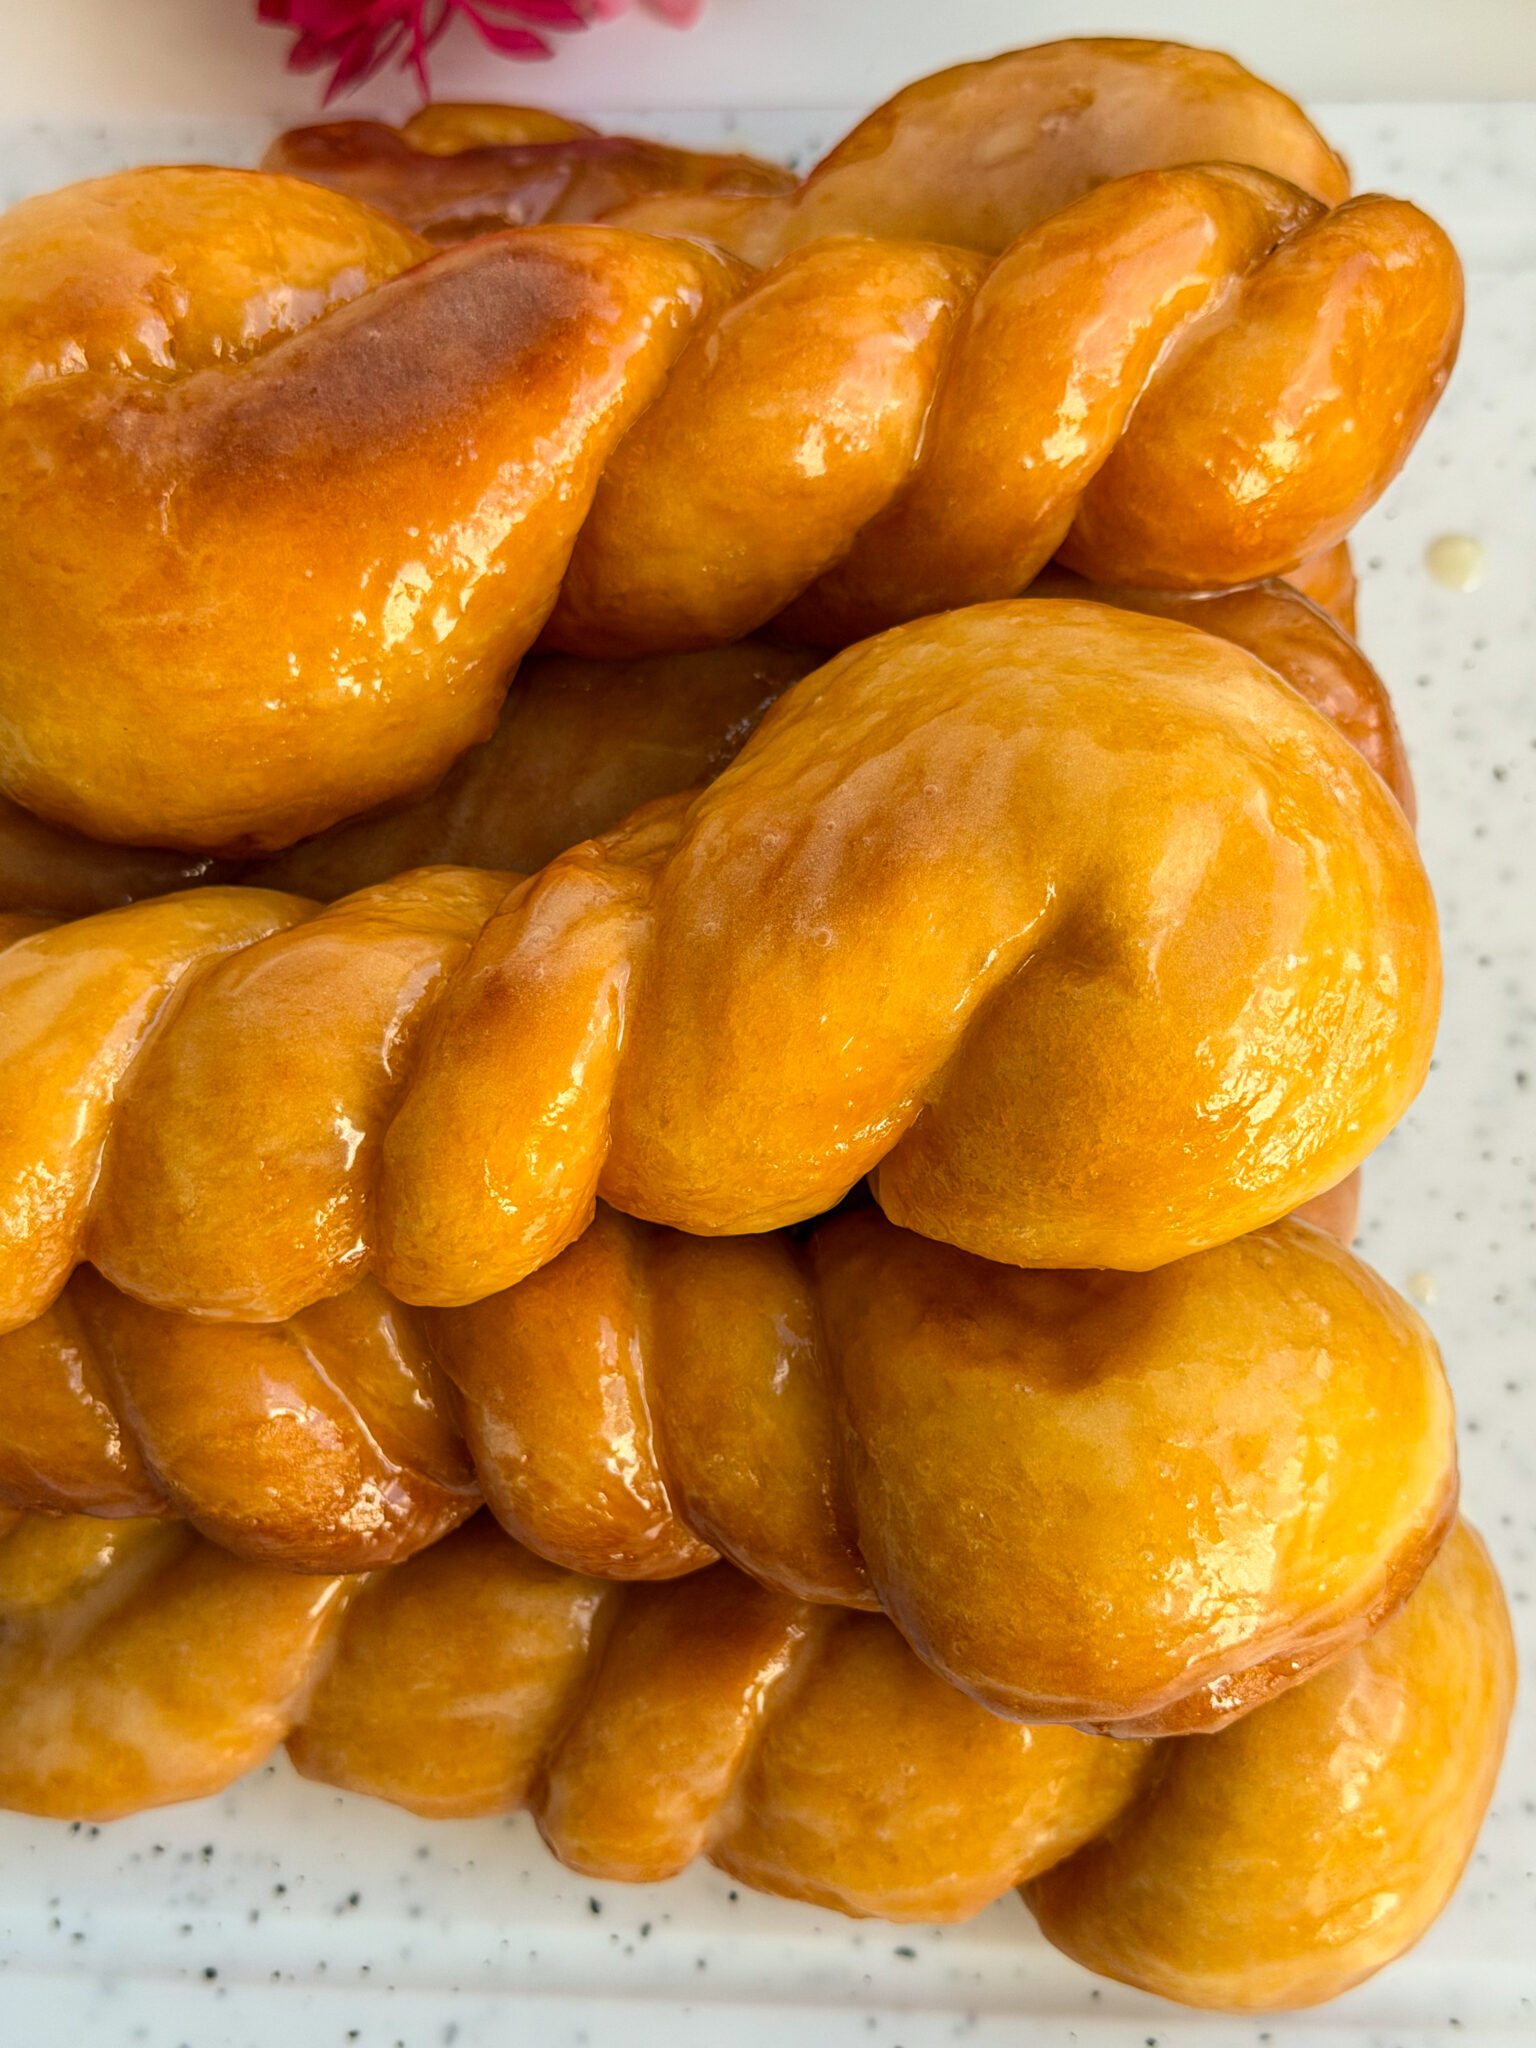
Tips for the Best Homemade Twisted Donuts
Don’t Overheat the Milk
Warm milk helps activate yeast, but hot milk can kill it.
Always make sure your milk is warm rather than steaming hot.
Don’t Add Too Much Flour
A slightly soft dough creates softer donuts.
It can be tempting to keep adding flour if the dough feels a little sticky, but too much flour can create dense, dry donuts.
Give the Dough Time to Rise
Good yeast donuts cannot be rushed.
Both the first rise and second proof contribute to the final fluffy texture.
Keep the Oil Temperature Consistent
Oil temperature is one of the biggest factors in successful frying.
Try to maintain approximately 175°C/350°F.
Adjust the heat between batches if necessary.
Glaze While Slightly Warm
Warm donuts help the glaze cling beautifully.
If the donuts are piping hot, however, the glaze may become too thin and slide off.
Let them rest for a few minutes before dipping.
Can I Make These Donuts Ahead of Time?
Donuts are best eaten on the day they are made, especially these ones.
Fresh yeast donuts are always at their softest and fluffiest shortly after frying.
However, you can store leftover donuts in an airtight container at room temperature for about 1–2 days.
The glaze may soften slightly over time, but they’ll still be delicious.
To refresh an unglazed donut, warm it gently before adding fresh glaze.
Can I Freeze Twisted Donuts?
Yes!
For the best results, freeze the donuts before glazing.
Allow the fried donuts to cool completely, then place them in an airtight freezer-safe container.
Freeze for up to approximately 2 months.
When ready to enjoy, thaw them and warm gently before dipping them into freshly prepared glaze.
Fun Variations to Try
Once you’ve mastered the basic recipe, you can have fun with different flavors.
Chocolate Glazed Twists
Add cocoa powder and melted chocolate to your glaze.
Cinnamon Sugar Twists
Skip the glaze and toss warm donuts in cinnamon sugar.
Lemon Vanilla Glaze
Add fresh lemon juice and zest to the glaze for a bright citrus flavor.
Maple Glazed Donuts
Replace part of the milk with maple syrup.
Strawberry Glaze
Add strawberry powder or a little strawberry puree for a fruity variation.
The soft donut dough works beautifully with so many different flavors.
Donut Dough
- 500 g flour
- 2 eggs
- 18 g fresh yeast
- 50 g butter softened
- 4 tbsp sugar
- 205 ml milk warmed
- 1 pack vanilla sugar
- Pinch of salt
- Neutral oil for frying
Vanilla Glaze
- 300 g powdered sugar
- 4 tbsp milk
- 113 g butter melted
- Vanilla to taste
- Pinch of salt
Warm the milk until comfortably warm. Add the fresh yeast and a little sugar. Let sit for several minutes until activated.
In a large bowl, combine flour, remaining sugar, vanilla, and salt.
Add the eggs and yeast mixture. Mix until a dough begins to form.
Add the softened butter and knead for 8–10 minutes until smooth and elastic.
Place the dough in a lightly greased bowl, cover, and allow to rise for 1–1½ hours until doubled.
Divide the dough into 10–12 equal portions. Roll each portion into a long rope and twist into a spiral or twisted ring shape.
Place on a parchment-lined tray, cover, and proof for another 20–30 minutes.
Heat frying oil to 350°F (175°C).
Fry the donuts in small batches for approximately 1–2 minutes per side until golden brown.
Remove and drain on a wire rack or paper towels.
Whisk together powdered sugar, melted butter, milk, vanilla, and salt until smooth.
Dip the slightly warm donuts into the glaze and place on a wire rack.
Allow the glaze to set, then serve and enjoy!
If you've given this recipe a try and it won you over, please share your thoughts by leaving
a rating and comment below! If you have any questions about this recipe, don't hesitate to ask – I'm here to
help and will respond promptly.