Did you make this recipe?
Tag @_bakeanna on Instagram so we can admire your masterpiece!JAPANESE KARAAGE FRIED CHICKEN
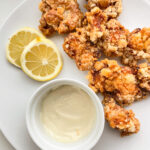
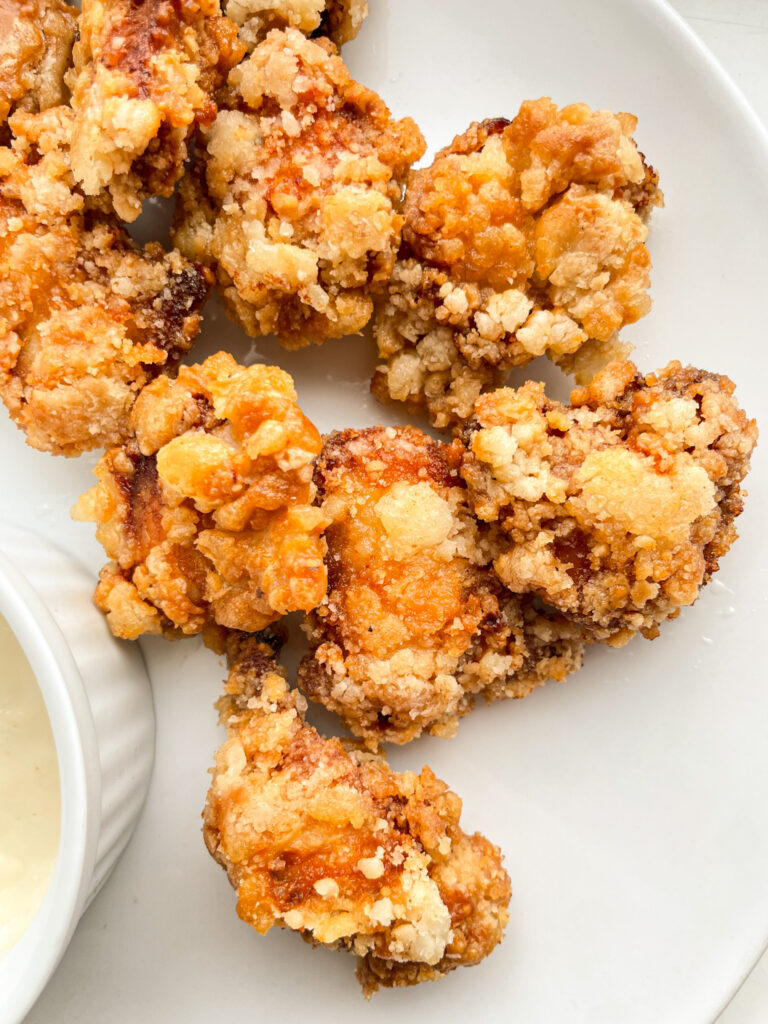
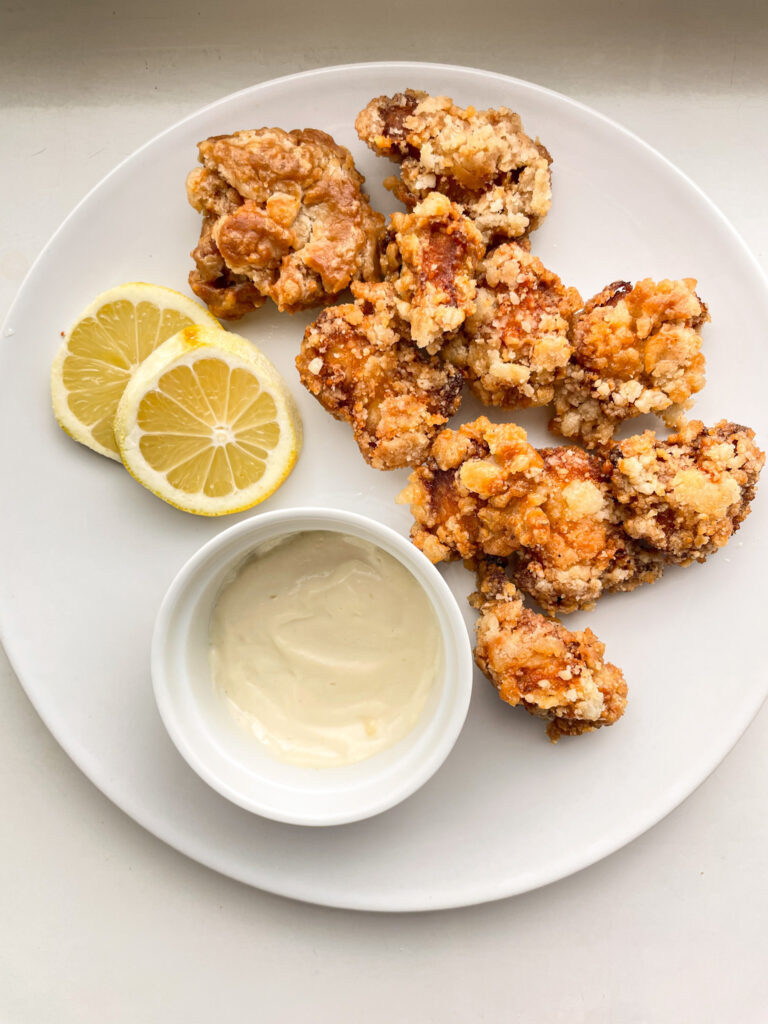
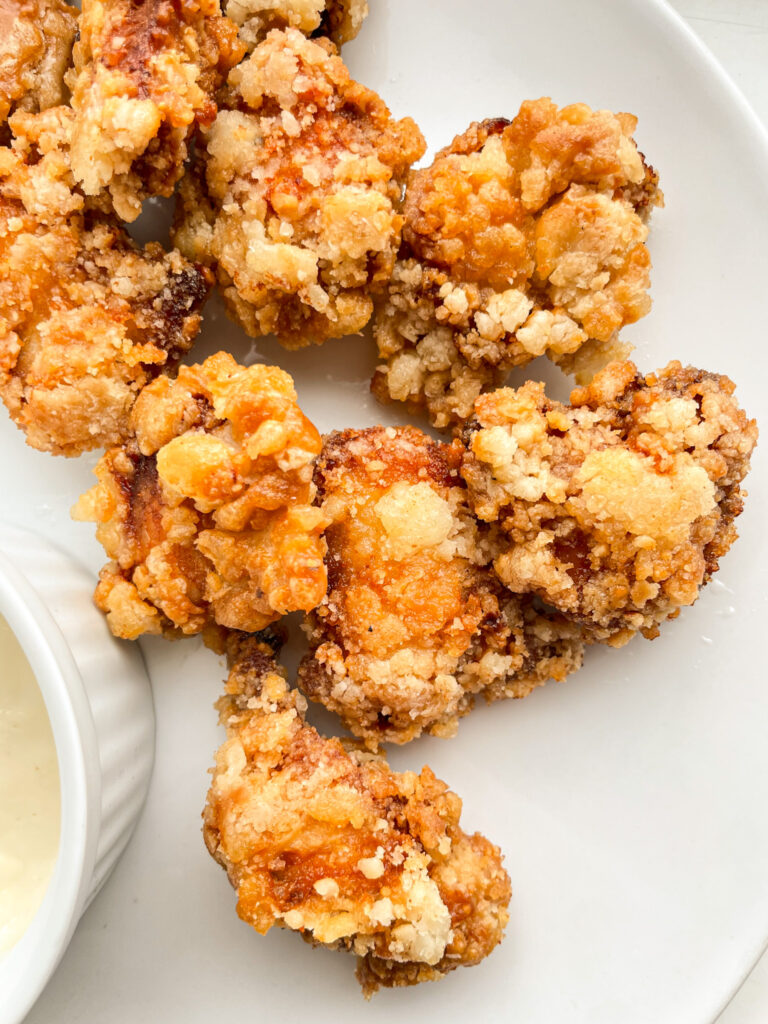
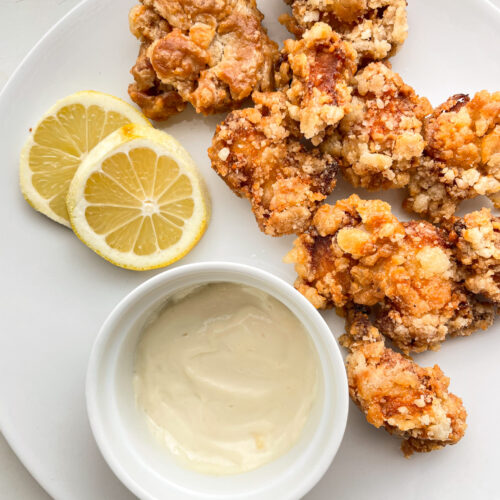
This crispy Japanese fried chicken karaage will have you saying goodbye to junk food once you taste its delicious goodness. This Japanese version of fried chicken, inspired by Chinese recipes, offers an irresistible crunch and flavor. Whether served with a squeeze of lemon or topped with Kewpie mayonnaise, it’s an izakaya and bento box favorite that’s perfect hot or cold. Quick and easy to prepare, this recipe yields fantastic results, making it ideal for parties, New Year’s gatherings, or any occasion worth celebrating.
ABOUT KARAAGE
While many associate karaage with Japanese style fried chicken, it’s essential to understand its broader definition. The term “karaage” actually refers to fried foods, whether or not they are coated in flour, and does not necessarily include chicken. In Japanese, “karaage” specifically refers to fried chicken (“tori no karaage”), which makes it clear that it is chicken. Originally, Karaage referred to meat or fish fried without marinade, a cooking technique introduced from China in the early Edo period. The term “kara” in “karaage” comes from the Chinese word “tou”, but can also be read as “kara” in combination with other characters. If the meat or fish is marinated before being coated in wheat flour, it is called “tatsuta age”. Karaage, however, has a looser definition, allowing for frying with or without seasoning and without the need for a coating of flour, which can be any type of flour. Although chicken is the most commonly used ingredient for karaage, the term encompasses a wide range of possibilities.
INGREDIENTS YOU WILL NEED:
Making chicken karaage is very simple with just a few basic Japanese pantry ingredients for the marinade:
–Chicken thigh fillets or chicken breasts
-Cornstarch/cornflour
-Vegetable oil for frying
Sometimes I choose fillets with the skin on the thigh, but other times I prefer skinless fillets (as shown in the video). Although you can substitute breast fillets for thigh fillets, keep in mind that the cooked chicken may end up a bit dry. To coat the chicken pieces, I used cornmeal/cornflour this time, but regular flour works just as well. You can also try a mixture of equal parts cornmeal and regular flour for a lighter coating during frying.
For the Marinade:
- Soy sauce
- Ginger
- Garlic
- Salt and pepper
- Eggs
- Flour
HOW TO MAKE THIS KARAAGE CHICKEN
-In a large bowl, season with salt and pepper.
-Add the chicken breasts or thighs and coat with the marinade.
-Let the chicken rest in the refrigerator for at least 30 minutes.
-Add the cornstarch to a bowl. Then gradually add 1 tablespoon of water and mix until crumbly.
-Repeat the step about 8 times until half of the cornstarch is crumbled.
-After the chicken is marinated, add the flour and egg to the chicken and mix well.
-Press the chicken into the cornstarch mixture and shake off the excess.
-Heat the vegetable oil to 180 degrees. (Use a thermometer to do this)
-Add the chicken and fry for about 2-3 minutes until the outside is lightly browned.
-Transfer the chicken to a rack to drain the excess oil.
–After the first fry, let the oil heat to 200 degrees. Then add the chicken back to the oil for a second fry for about 1 to 2 minutes.
-Transfer to a wire rack and allow excess oil to drain.
-Serve the chicken while it is still hot!
THE SECRET OF GUARANTEED SORRY KARAAGE CHICKEN
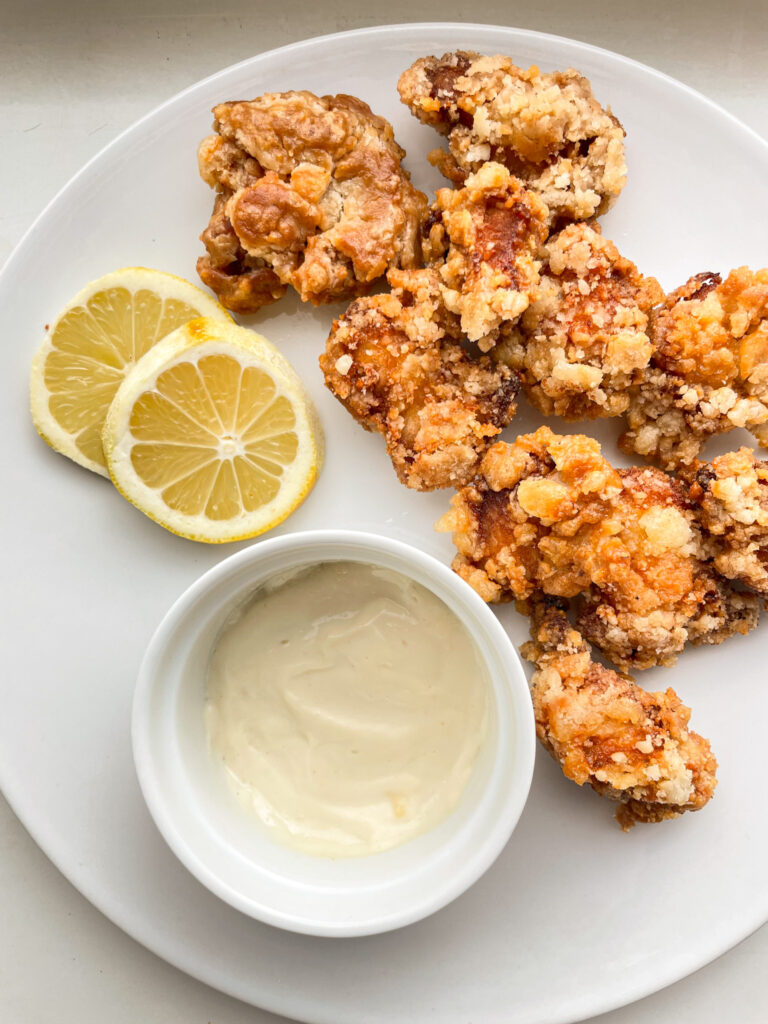
To achieve the perfect Karaage chicken, a double frying technique is necessary to achieve the ideal crispy exterior and juicy interior.
1.Start by browning the chicken pieces at a lower temperature (approximately 160-180°C/320-329°F). This initial browning cooks the chicken almost completely without over-browning.
2.Let the chicken rest for 3 to 4 minutes, allowing the residual heat to finish cooking the meat.
3.For the second frying, increase the oil temperature to around 190-200°C/374-392°F. This step sears the outside, ensuring the chicken remains crispy and golden brown while keeping its inside juicy.
By following this double frying method, you will achieve the perfect balance of textures in your food every time.
CRISPY JAPANESE KARAAGE FRIED CHICKEN
Ingredients
FOR THE CHICKEN
- 3 boneless chicken breasts cut into cubes
- 2 tsp ginger powder
- 1 garlic clove finely minced
- 3 tbsp soy sauce
- Salt and pepper
- 1 cup cornstarch
- 1/4 cup flour
- 1 egg
- Frying oil
FOR THE GARLIC LEMON DIP
- 1/4 cup kewpie mayo
- 1 tsp lemon juice
- 1 tsp garlic powder
- 1/4 tsp salt
Instructions
FOR THE CHICKEN
- Prepare the chicken marinade by whisking together ginger, garlic, soy sauce, black pepper, and salt in a large bowl. Add chicken breasts, ensuring they're well-coated, then cover with plastic wrap and refrigerate for at least 30 minutes, preferably overnight for maximum flavor.
- Create the cornstarch crumble by adding cornstarch to a shallow bowl. Gradually, mix in 1 tbsp. of water at a time until crumbles form, repeating this step around 8 times until half the cornstarch is transformed.
- Once the chicken is marinated, add flour and egg, mixing thoroughly. Lightly press the chicken into the cornstarch crumble, shaking off the excess, then transfer to a wire rack.
- Heat 4 cups of oil to 350°F. For the first-fry, gently submerge 4 to 5 chicken pieces at a time, ensuring not to overcrowd the pot. Fry for 2-3 minutes until lightly golden, adjusting heat if necessary. Transfer the fried chicken to a wire rack and repeat with the remaining pieces, cleaning oil between batches.
- For the second fry, raise the oil temperature to 380°F. Deep-fry 4 to 5 pieces of chicken for another 1-2 minutes until golden brown and crispy. Drain the excess oil on a wire rack and repeat with the remaining chicken.
FOR THE GARLIC LEMON MAYO DIP
- For the lemon garlic mayo dip, whisk together mayo, garlic powder, lemon juice, and salt in a small bowl. Transfer to a dipping bowl and serve!
If you’ve given this recipe a try and it won you over, please share your thoughts by leaving a rating and comment below! If you have any questions about this recipe, don’t hesitate to ask – I’m here to help and will respond promptly.
Latest Blogs

MCDONALD’S COPYCAT APPLE PIES
Marry Me Chicken Lasagna
