APPLE CRISP
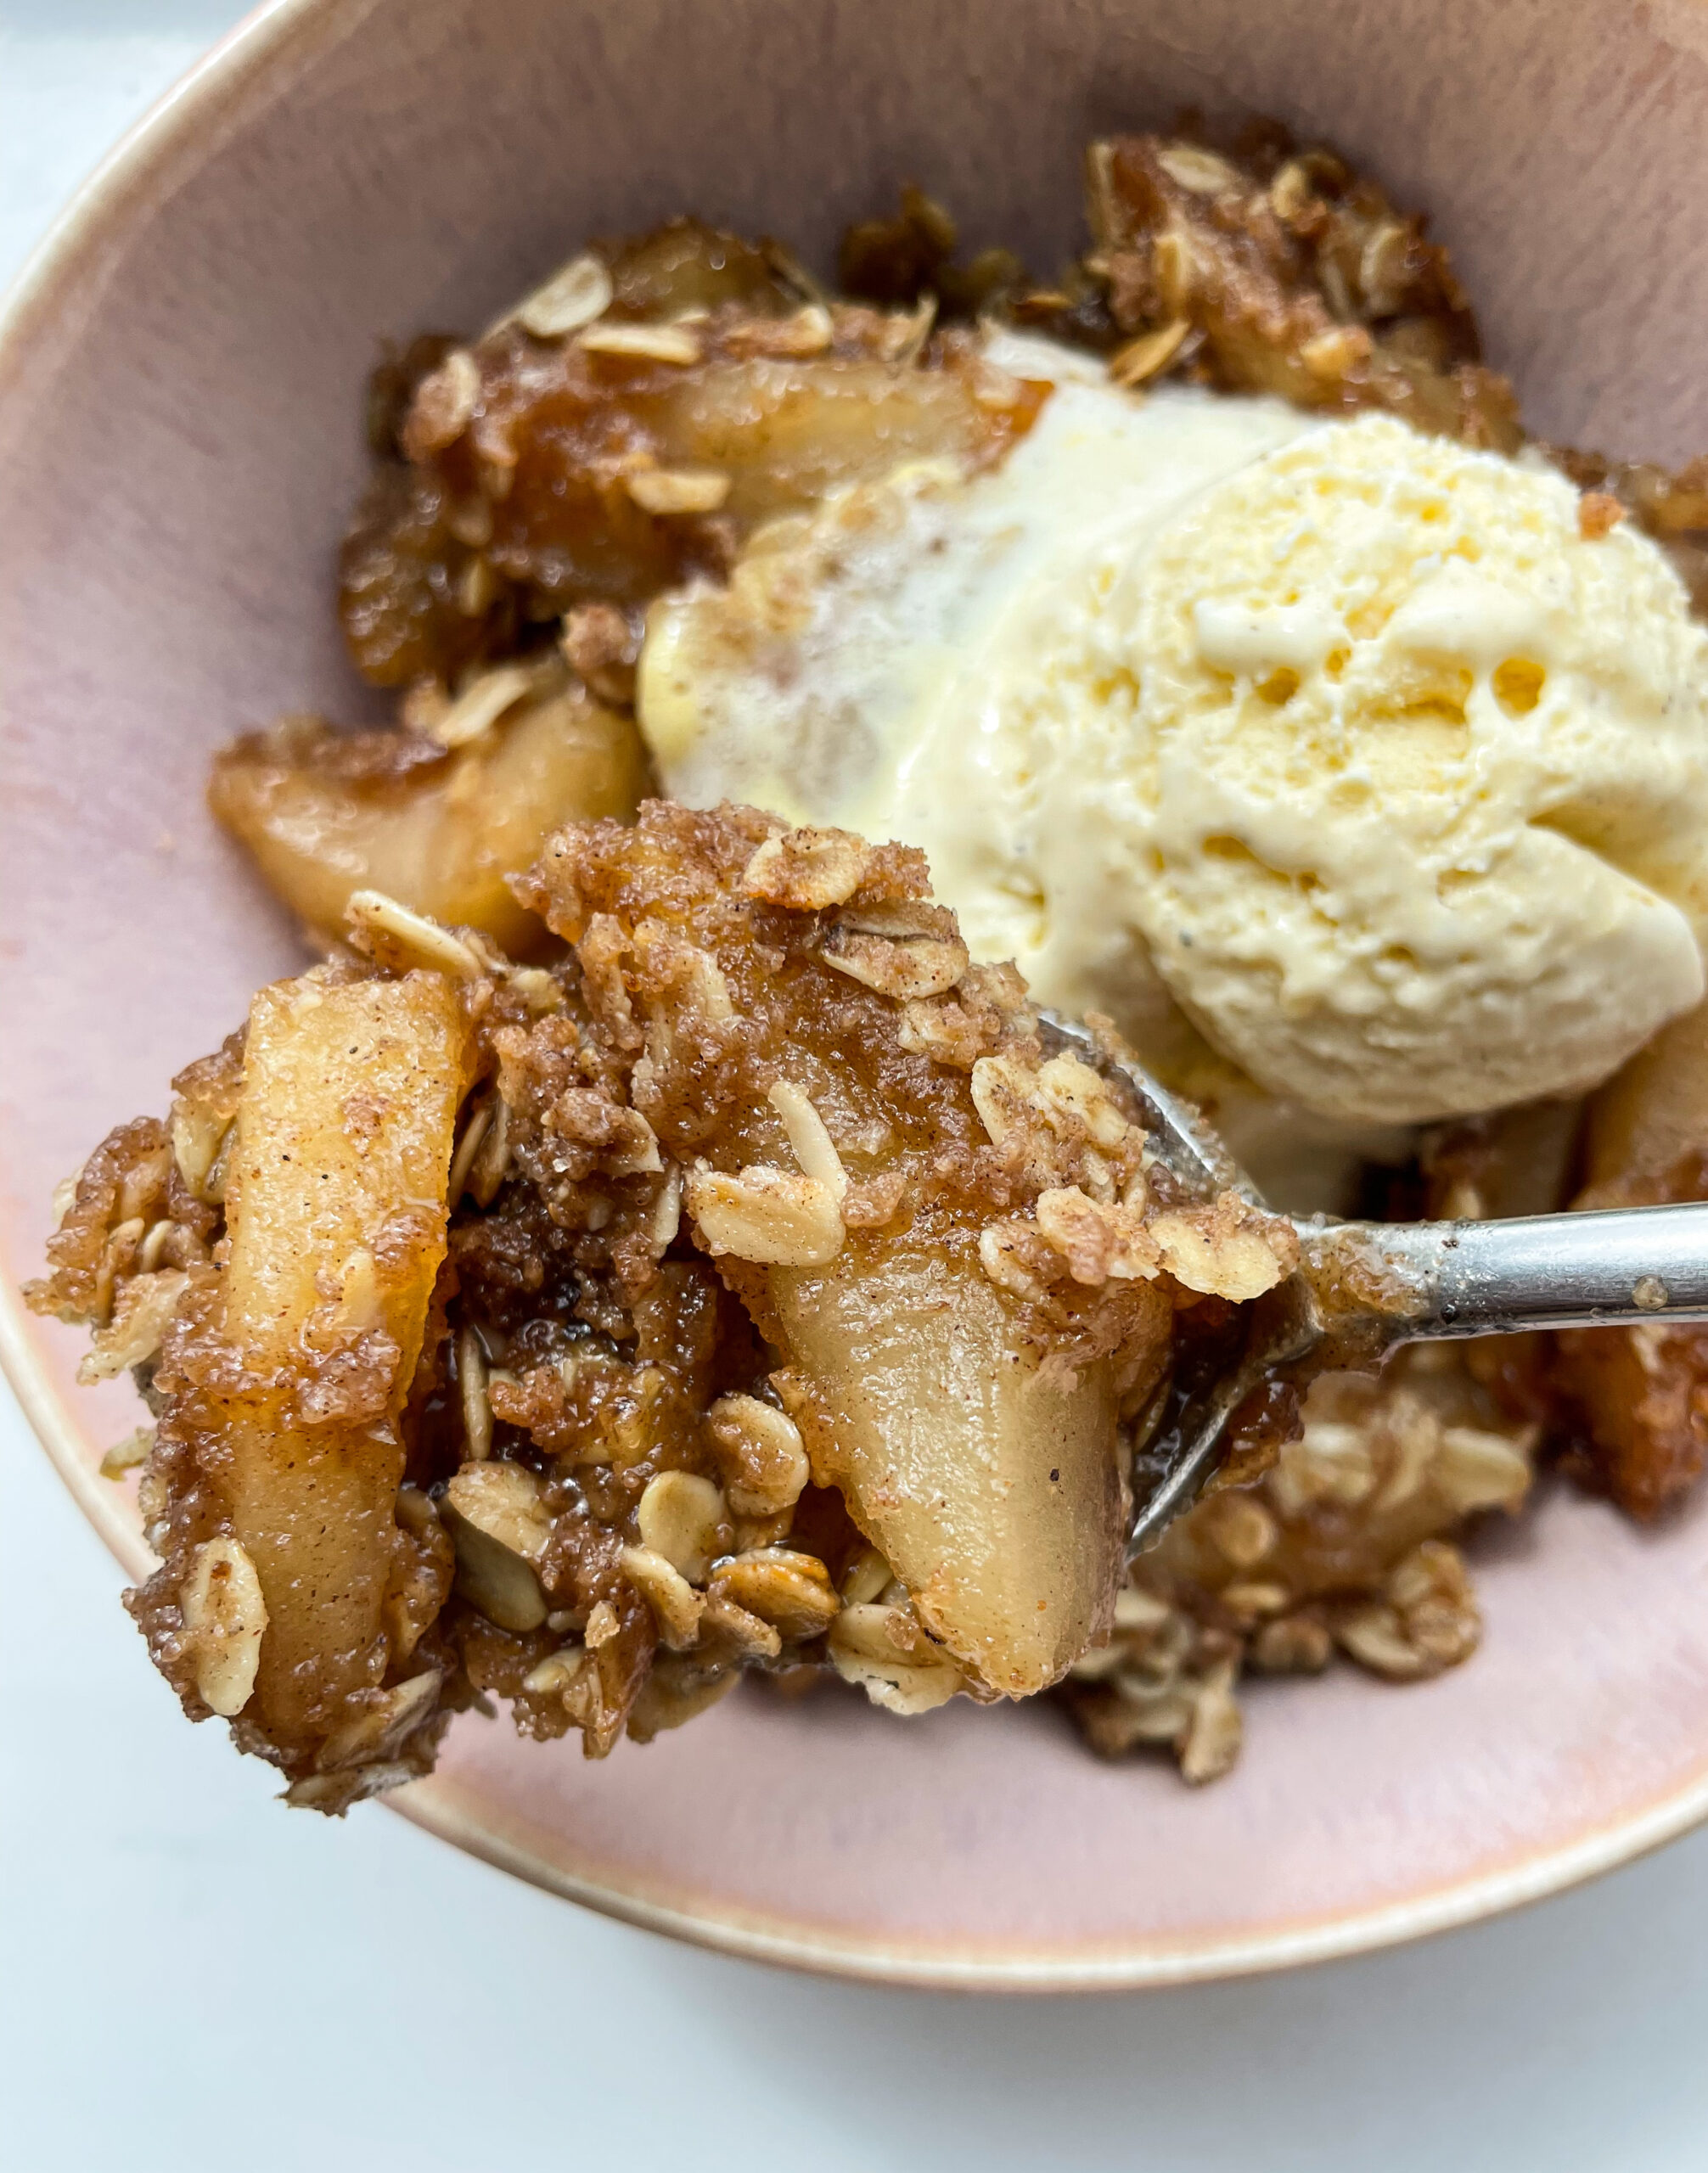
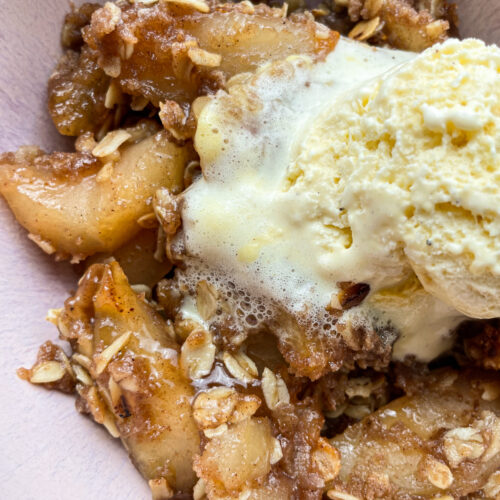
Look no further, this apple crisp recipe is an absolute winner! It’s loaded with beautifully spiced, thick apple slices that turn gloriously jammy, topped with an extra crispy layer. Not only is it incredibly tasty, but it’s also a breeze to make. Enjoy the deliciousness without the fuss!
WHY IS THIS THE ULTIMATE APPLE CRISP RECIPE?
Well, just take a look at those mouthwatering photos – they tell the delicious story!
To begin, we use thick apple wedges that are gently spiced. These apples get a head start, baking for about 10 minutes before we load on the crumble topping. This extra step ensures that the apple filling is a glorious blend of juicy, tender apples enveloped in a lusciously thick sauce.
Once the apples are all cozy, it’s time for the real star – the crumble topping. And trust me, we don’t skimp on it! It’s a generous heap of extra crispy goodness. After all, the crisp is what we’re here for.
Our crumble is a delightful mix of flour, oats, sugar, cinnamon, and butter, baked to a gorgeous golden brown perfection. And to elevate the flavor, we introduce warm spices into both the apples and the crisp topping – a sprinkle of cinnamon, a dash of nutmeg, a hint of ginger, and a pinch of cloves. These spices add a depth of flavor that makes this apple crisp truly irresistible.
HOW TO MAKE THIS EASY APPLE CRISP RECIPE?
Making this simple apple crisp involves two key parts: the scrumptious crisp and the delectable apple filling. Let’s kick things off with the apple filling. Begin by peeling, coring, and slicing those delicious apples. We’ve opted for sweet and crispy apples to pack in the flavor. These apples are cut into hearty 1-inch wedges, ensuring a lusciously tender apple crisp filling.
Next, the apple slices take a dip in a mixture of lemon juice, vanilla extract, brown sugar, sugar, cornstarch, and a sprinkle of spices. The lemon juice provides a tangy contrast to the sweetness, while the cornstarch works its magic, creating a jammy consistency as it bakes.
The apple slices find their cozy home in a cast iron skillet and take a quick solo bake for 10 minutes, giving them a head start before the grand entrance of the crisp.
Now, let’s talk about the crisp! In a spacious bowl, combine oats, almond flour, brown sugar, a pinch of salt, cinnamon, and diced butter. Get your fingers into the mix, thoroughly working that butter until it blends seamlessly. You’ll know it’s ready when the butter becomes nearly invisible, and the crisp holds its shape when gently pressed together.
Finally, scatter the mound of this delightful crisp over the warm apples and spread it out evenly. Then it’s off to the oven, baking until it reaches the golden brown peak of perfection!
Ingredients you need:
- Honey crisp apples
- All-purpose flour
- Lemon juice
- Vanilla
- Granulated sugar
- Light brown sugar
- Cornstarch
- Cinnamon
- Ginger
- Nutmeg
- Rolled oats
- Butter
- Salt

FREEZING AND STORAGE
Yes, you can freeze and store this apple crisp easily. After it’s baked and has cooled down, wrap it up snugly with plastic wrap and aluminum foil. You can freeze it for up to 2 months. When you’re ready to enjoy it again, simply let it thaw at room temperature. To warm it up, pop it in the oven at 300°F for approximately 10 minutes. It’s like savoring a fresh batch all over again!
If you’ve given this recipe a try and it won you over, please share your thoughts by leaving a rating and comment below! If you have any questions about this recipe, don’t hesitate to ask – I’m here to help and will respond promptly.
To see more recipes and behind-the-scenes, follow along on Youtube,Instagram&Tiktok!
APPLE CRISP
Ingredients
Apple crisp filling
- 6 cups Honey crisp apples peeled and sliced into wedges
- 2 tsp fresh lemon juice
- 1/4 cup granulated sugar
- 1/4 cup light brown sugar
- 2 tbsp cornstarch
- 1 tsp cinnamon
- 1/4 tsp ginger
- 1/8 tsp nutmeg
Apple crisp topping
- 2 cup rolled oats
- 1 cup flour
- 3/4 cup light brown sugar
- 1/2 tsp kosher salt
- 1 tsp cinnamon
- 170 g unsalted butter cold and cubed
Instructions
- Begin by preheating your oven to 350°F
- Next, in a large bowl, combine all the ingredients for the apple crisp filling, ensuring that the apples are thoroughly coated.
- Now, transfer these beautifully dressed apples into an 11" cast iron skillet or any oven-safe baking pan that comfortably accommodates the apples, ensuring they cover the pan's surface.
- Slide the apples into the preheated oven and bake for 10 minutes.
- While the apples work their magic, let's whip up the topping. In another large bowl, whisk together all the ingredients, except for the butter. Then, add in the butter cubes, and roll up your sleeves! Use your fingertips to blend and meld the butter into the dry ingredients. This might take a little time, so keep at it until the butter is seamlessly incorporated, and the crisp mixture can hold its shape when you squeeze it.
- When the initial 10 minutes are up, carefully retrieve the apples from the oven and generously crown them with the prepared crisp mixture. Spread it evenly to create a cozy blanket for those apple slices.
- Now, it's time to return the crisp to the oven, baking it for approximately 35-40minutes or until you witness those delightful bubbling edges and a beautifully golden-brown crisp. If the top starts browning too quickly, simply cover it with a loose sheet of foil and continue baking.
- After this delectable creation emerges from the oven, show some patience and let it cool for around 15 minutes. Then, feel free to dive in and enjoy! It's a delightful reward for your taste buds.